Oh boy, we’ve been busy little elves around here! It happens every single year, December gets here and I’m all, it’s here already?! Silly I know but the hustle and bustle always catches me by surprise for some odd reason?! I think I’ve got it cased this year though, I started getting ready in November and now all the halls are all decked – well most of them are decked – the actual deck/porch is not decked – hahaha! So now I should be feeling like I can sit back maybe take a little break, right? Nooooo, I’m an odd duck, now I have that weird feeling like I’m forgetting something, anyone else feel that way? I actually do have more to do, like Christmas shopping and baking and all of it… but I’m going to savor this moment for now, mmmmkay?
I’d like to give a shout out and a special thank you to Shannon from AKA Design for hosting and organizing this craft blog hop, you are a pure Sweetie for putting this together for all of us especially at this busy time of year! xo ALL of us you ask? Well I’m joining in with my #CDNblogsquad friends again this year and we’ve added a Christmas craft hop into the mix! Not only are we doing home tours (mine is tomorrow – eeeeek) some of us are also sharing a DIY Christmas craft, yay!
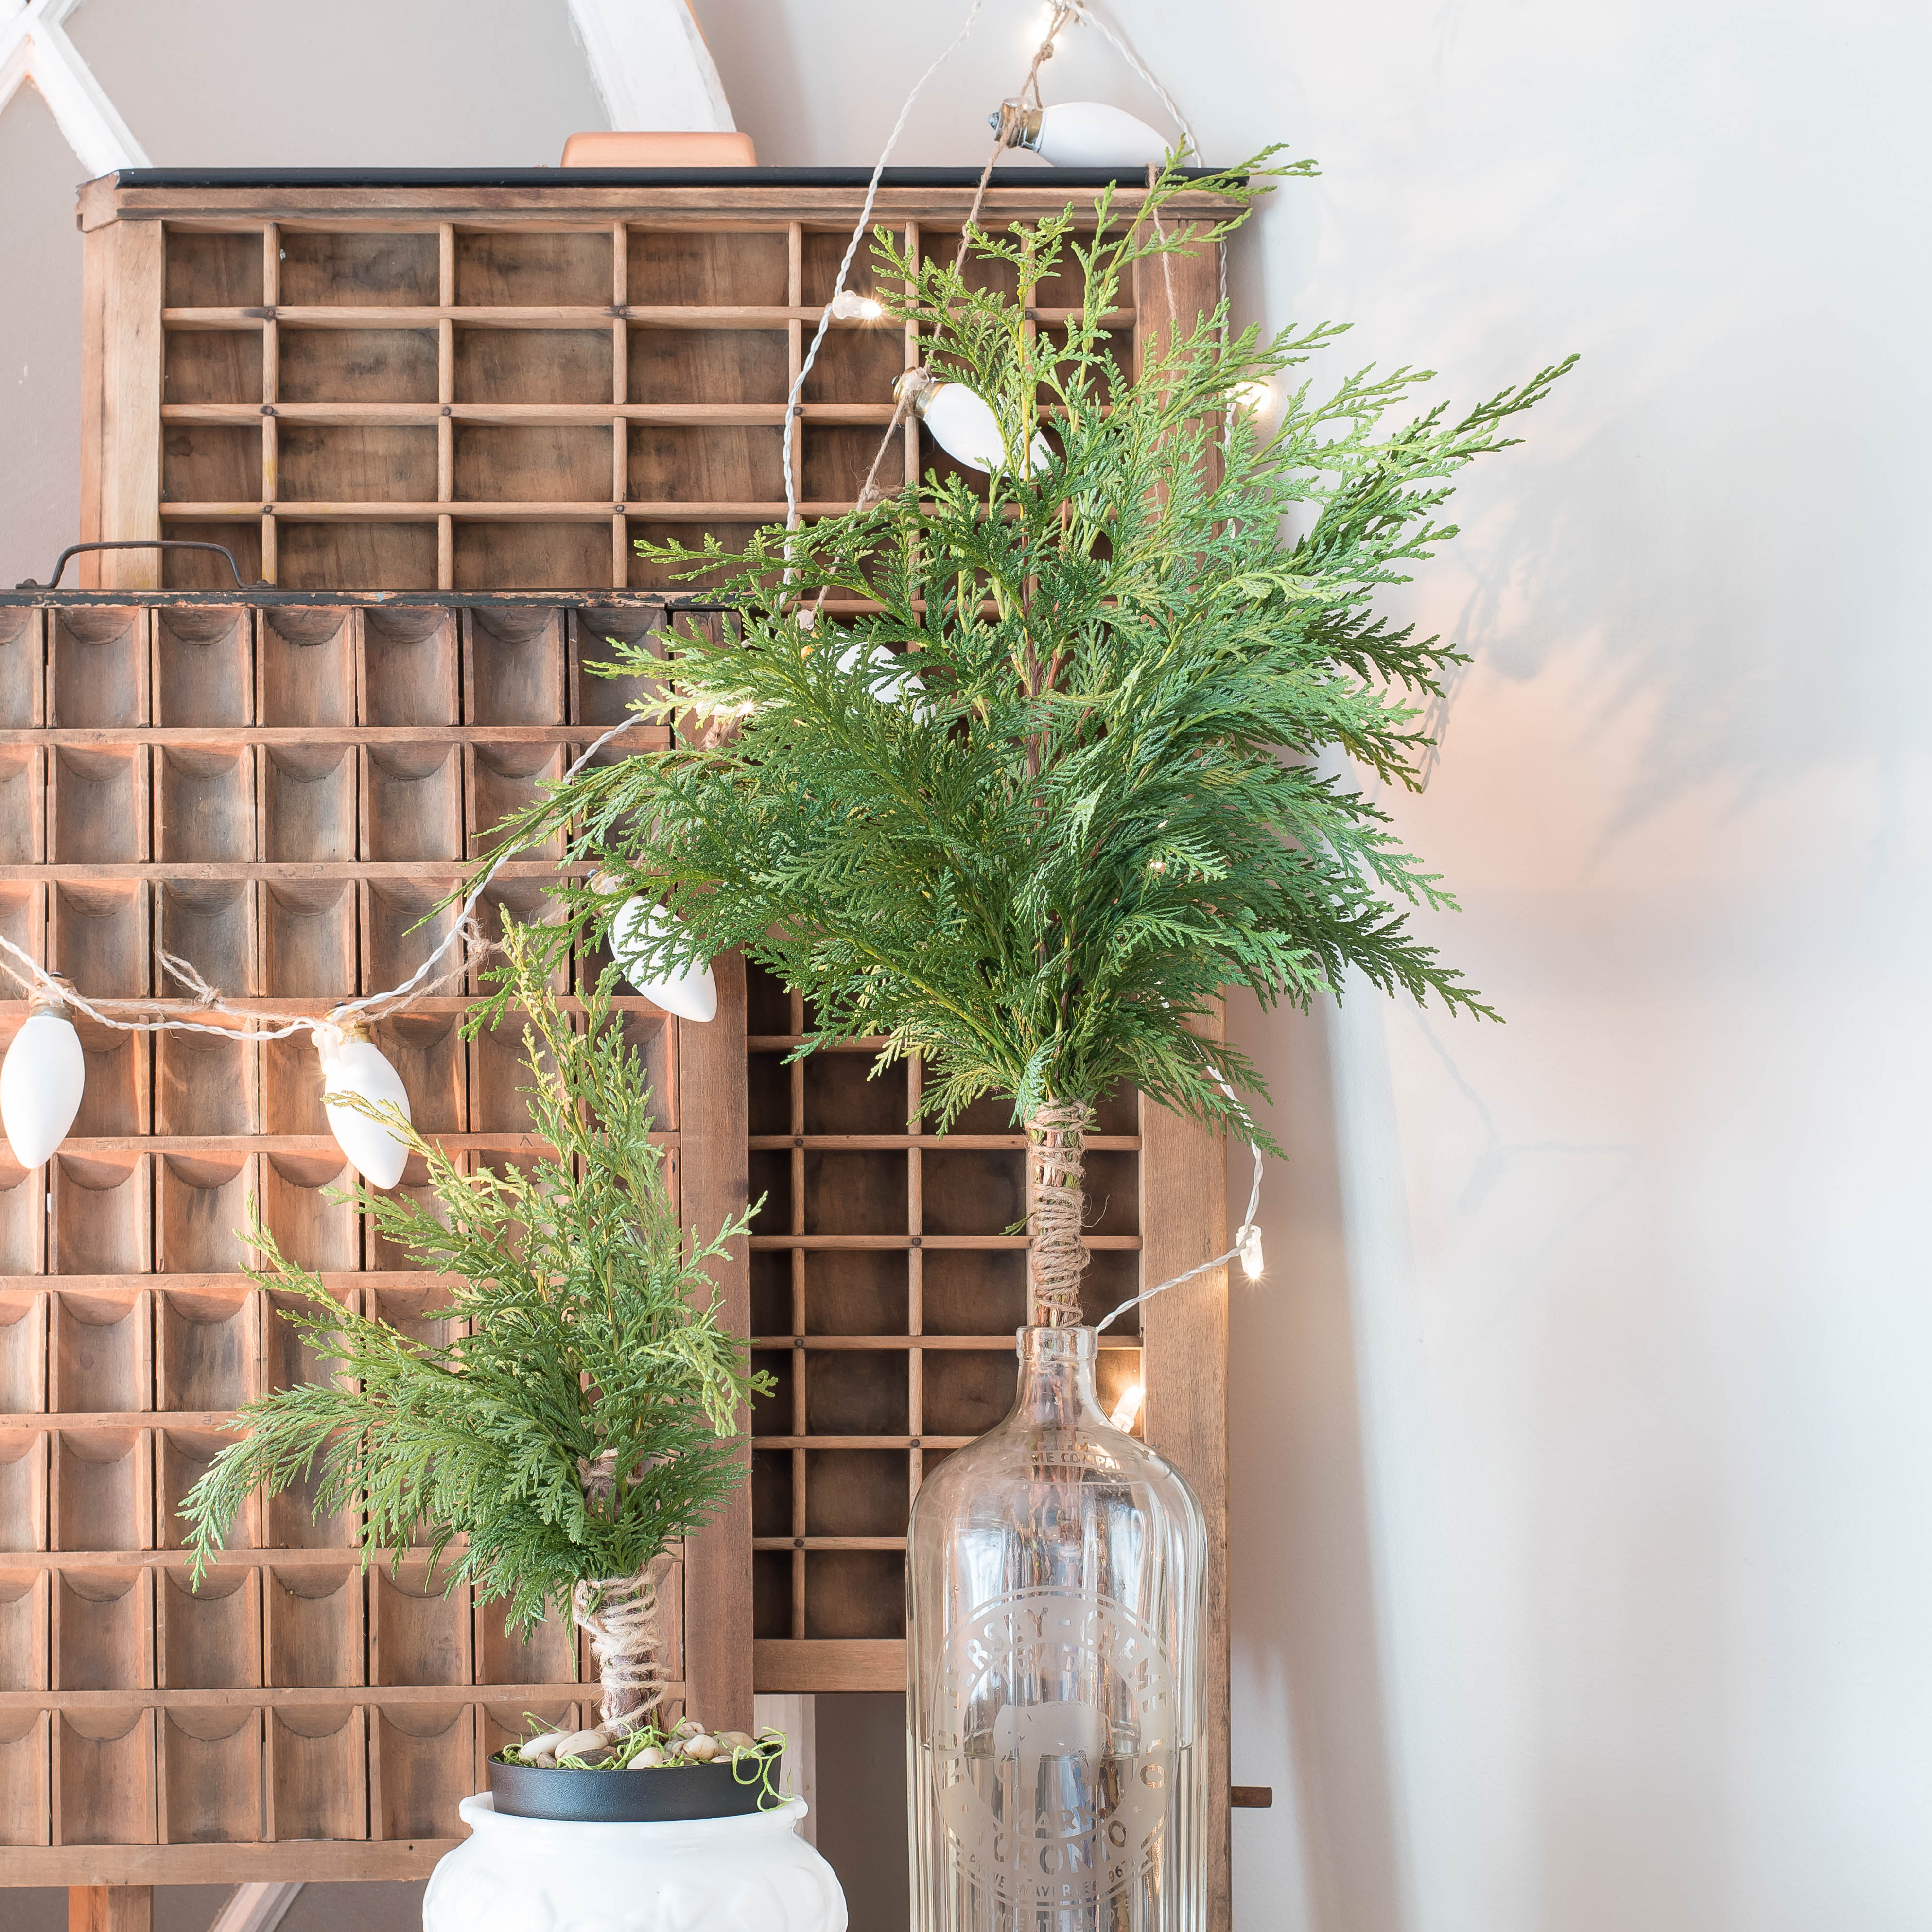
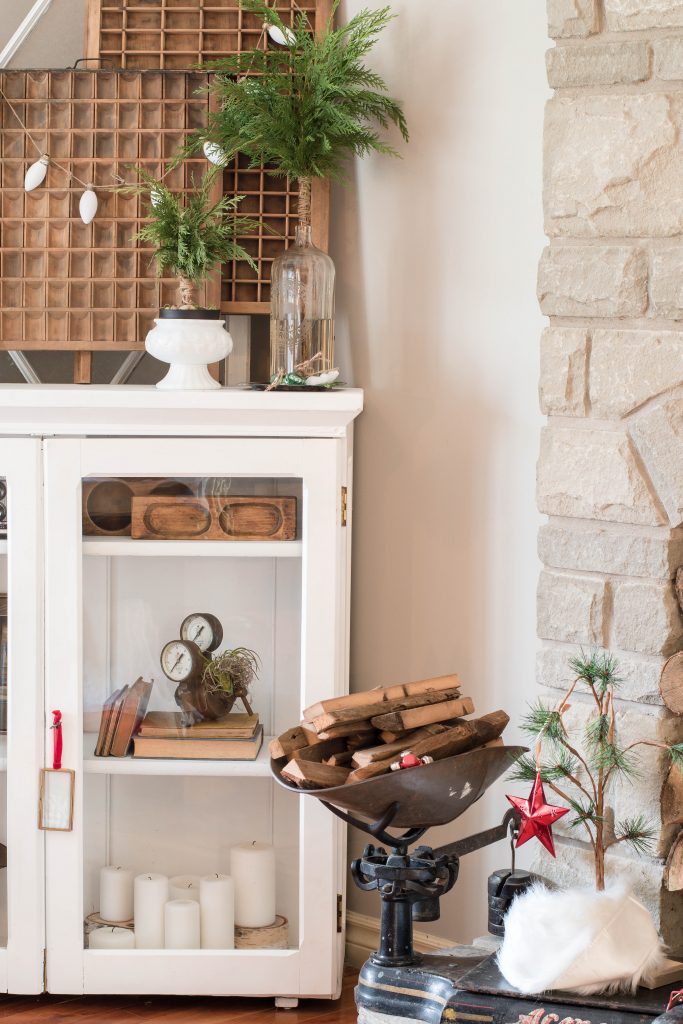
I’m sharing a very easy tutorial with you, DIY cedar topiaries, I’m mad about topiaries! haha Hello my name is Laurie and I am completely in love with topiaries – this must be a thing, right, I can’t be the only one that loves topiaries?! I am however not in love with how much they cost, YIKES!!! 12 bucks for one and that’s not even for one that I really like a lot, that’s for one cheapy one, ugh! Soooo, I decided that I was going to make some faux topiaries this year and I was going to use what I had on hand, call me stubborn – or cheap, or both and you’d be right – HA. I’m pretty happy with how they turned out though, I hope you like them too? They were so easy to make and they add just the perfect pops of green for this year’s Christmas, let me show you how I made them.
DIY topiaries
The things you will need
Fresh greenery – my go-to and all time favourite is Red western cedar – it drapes so nicely!
Small pots – I used black ikea pots, the ones that already had faux plants in them (I removed the faux plants and stored for reuse at a later date), they have a lovely bit of cement on the bottom of each pot. If you don’t have them laying around like I did, just make sure you use something heavy at the bottom of each pot (I will show you why in the tutorial)
Glue gun/glue
raffia
jute/twine
scissors
wire cutters
spanish moss
reindeer moss
decorative stones – (tip – I get all of my plant’s stones at the dollar store but I also go the the pet store and buy aquarium stones (white) to have a different variety of stone – they also have other very fun colours too)
NOTE: the tutorial photos are taken with my phone (bad blogger)… goodness gracious and I just realized that my nails are DIY neglected and horrific, no judging please! I need a self care intervention, seriously!
Steps how to
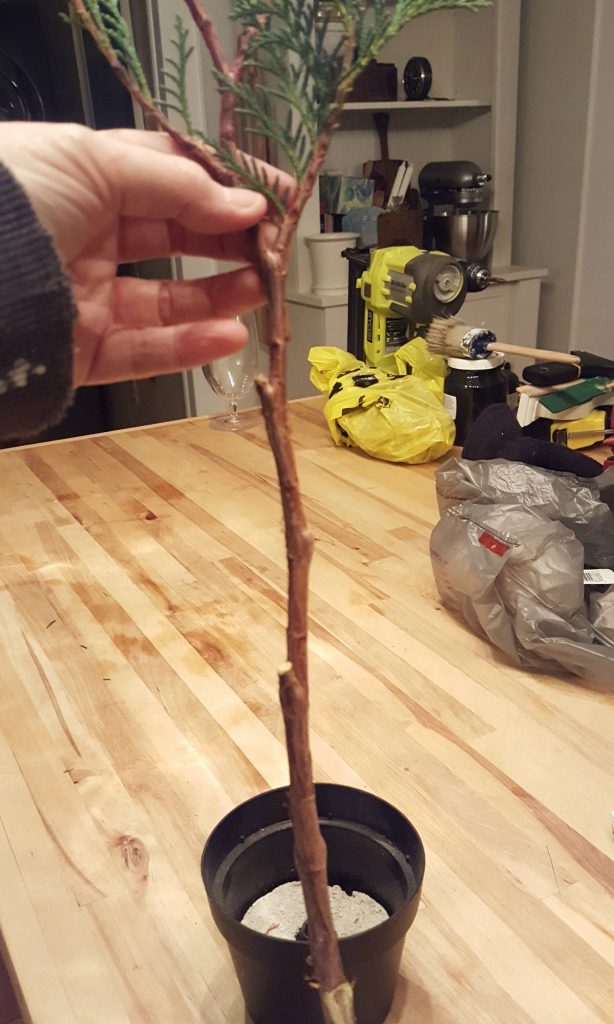 Lay your greenery out and choose some long pieces with a fairly straight and heavy stem/stalk. Decide how tall you want your topiaries to be and leave a bunch of sprigs at the very top, strip the rest off of the stalk below the desired height.
 When the stem is cleaned off secure it into the pot, I placed it into the hole at the bottom – I filled the hole with hot glue and wedged it in there. But if you aren’t using these types of pots, I would use some heavy sand or stone dust for weight and some floral foam cut to fit the pot. Layer of sand then a layer of floral foam, glue the end of the stem and then stick the stem through both layers. just make sure it’ll stand up straight.
 Once the main stem is in and secure, start adding to the top, I used jute to tie all of the pieces one at a time to the main center stem and picked off any green I didn’t want showing. I also kept and stripped smaller stems and left them long to make the main stem look bulkier.
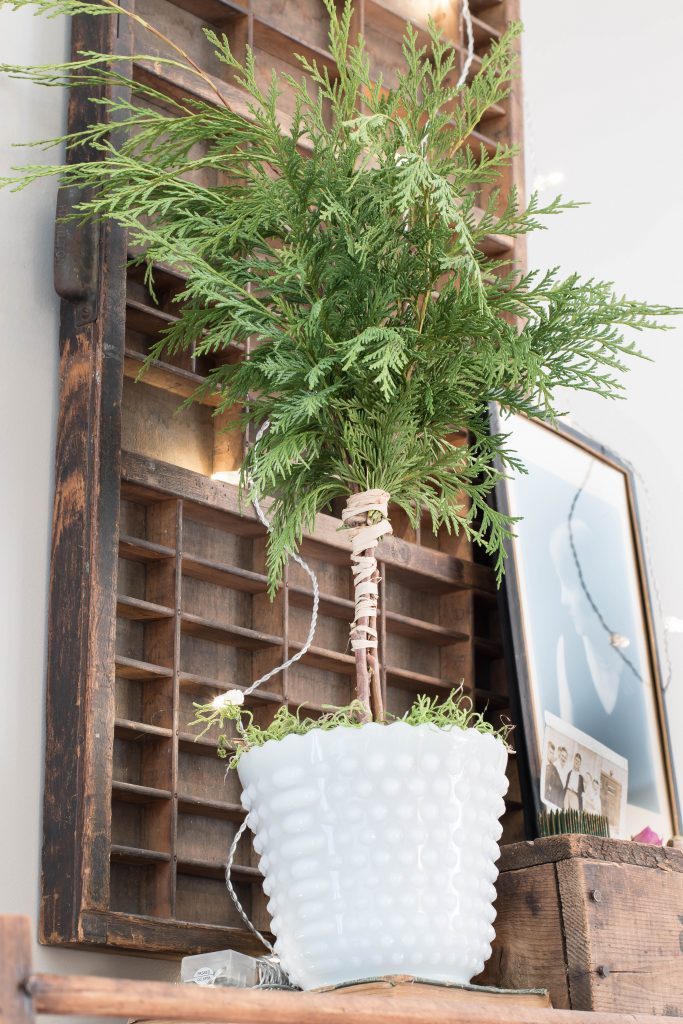
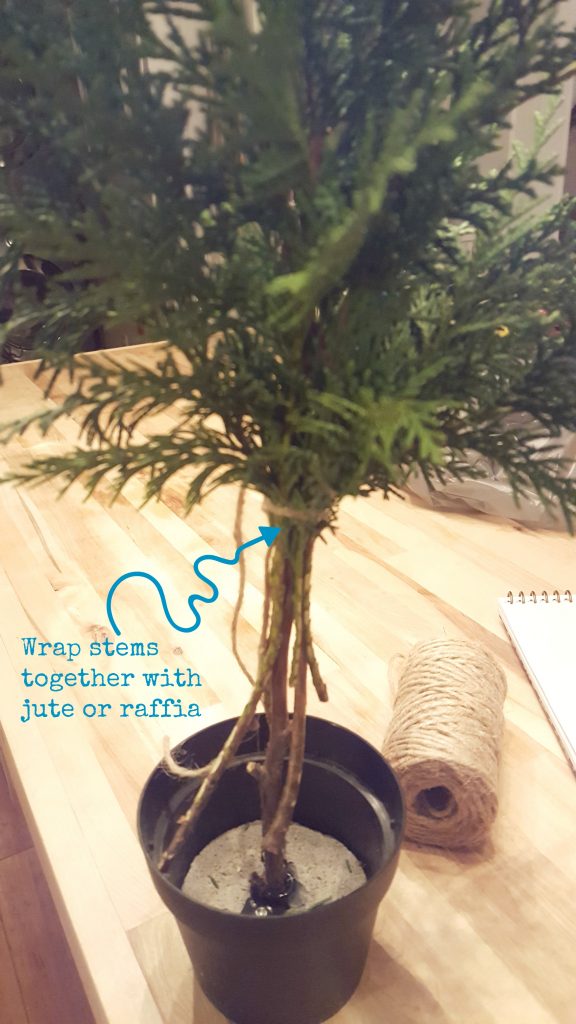 When you are happy with how full your topiary looks start wrapping all of the stems together as one – I used raffia and or jute for this step. You do not need to be tidy or perfect, at least I wasn’t. I wanted a little bit of rustic charm.
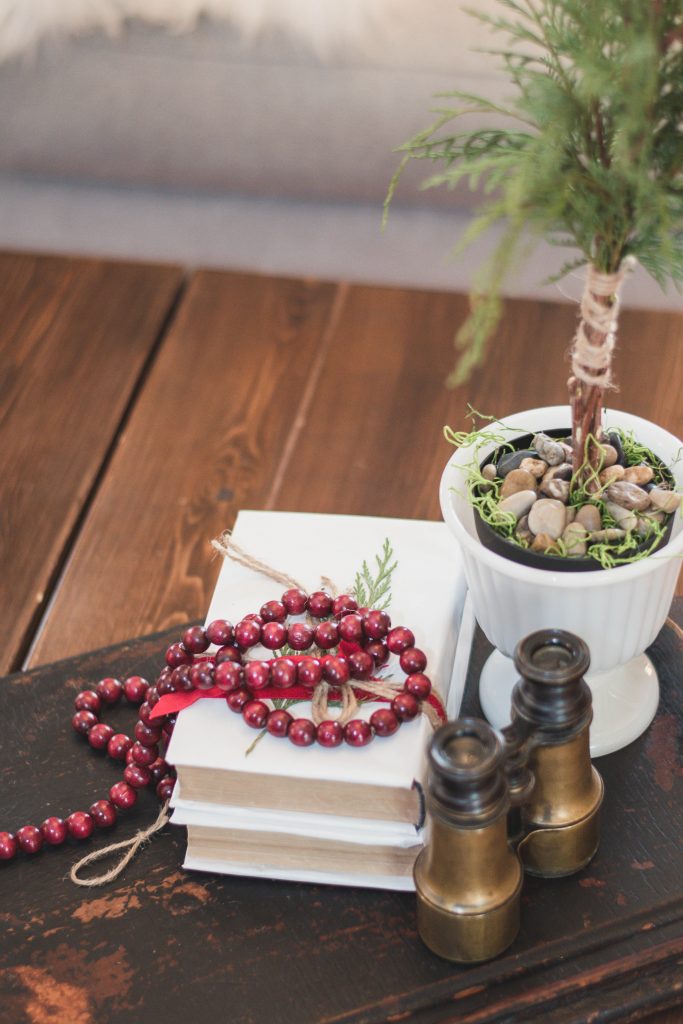 Once your topiary is built the way you like it, fill the pot to the top with spanish moss, layer in some bright green reindeer moss for a pop of colour and top the moss gently with some rocks, you can also put the pots that hold the base of the topiary into other containers, I love getting the vintage milk glass out and using it to add height and contrast.
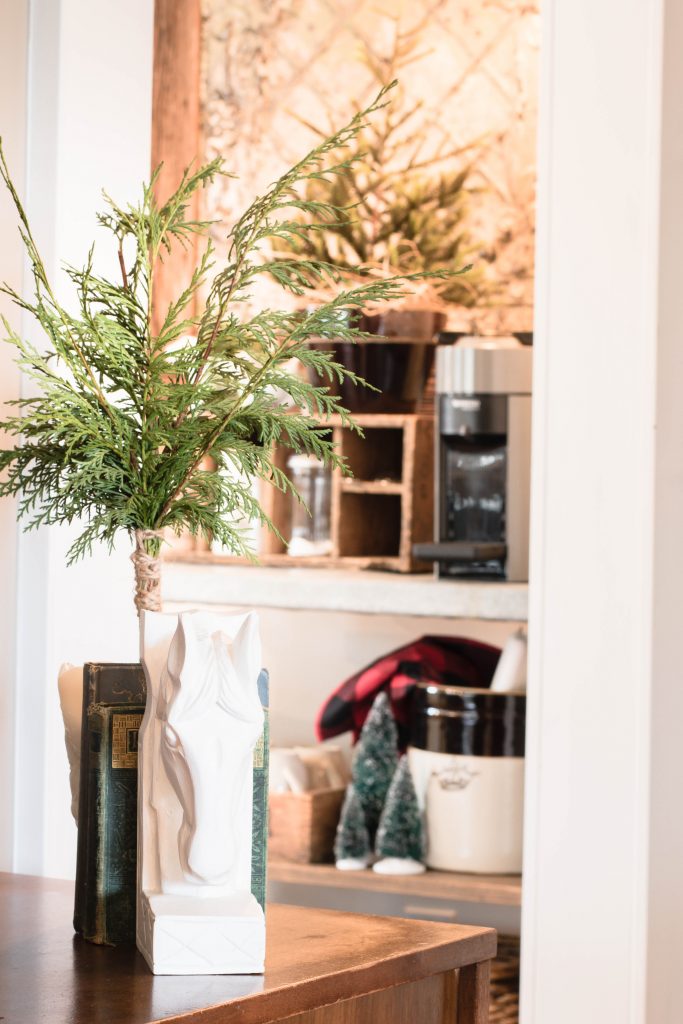
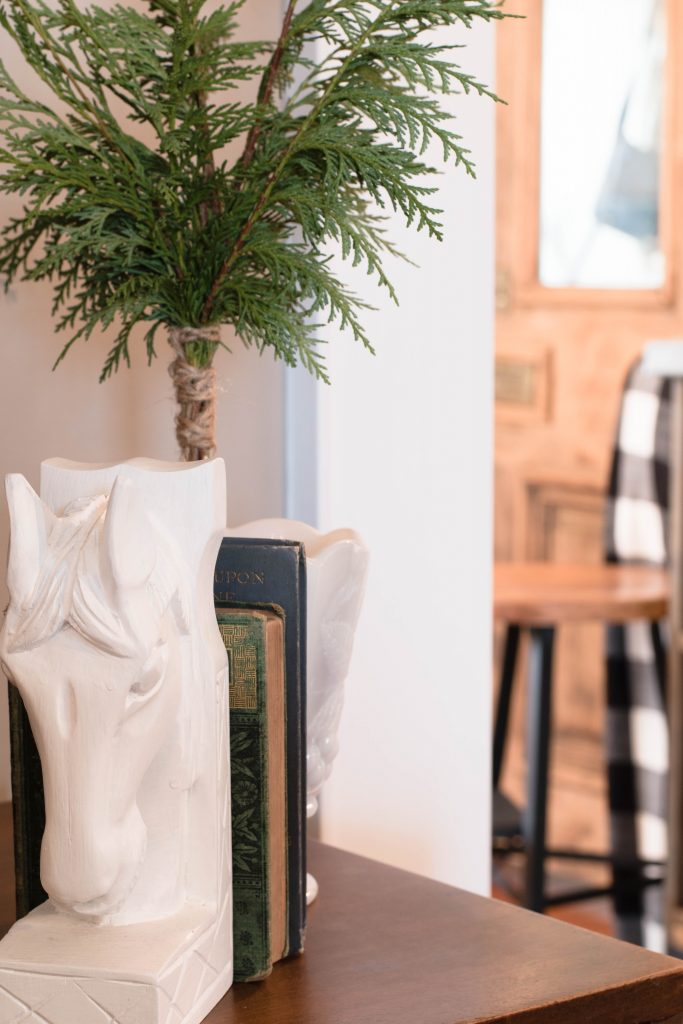
Any of the stemmed/removed cedar clippings can be used in other places around the home too, I used the clippings in bowls and crates to add a pops of green and Christmas. The clippings won’t go to waste that’s for sure.
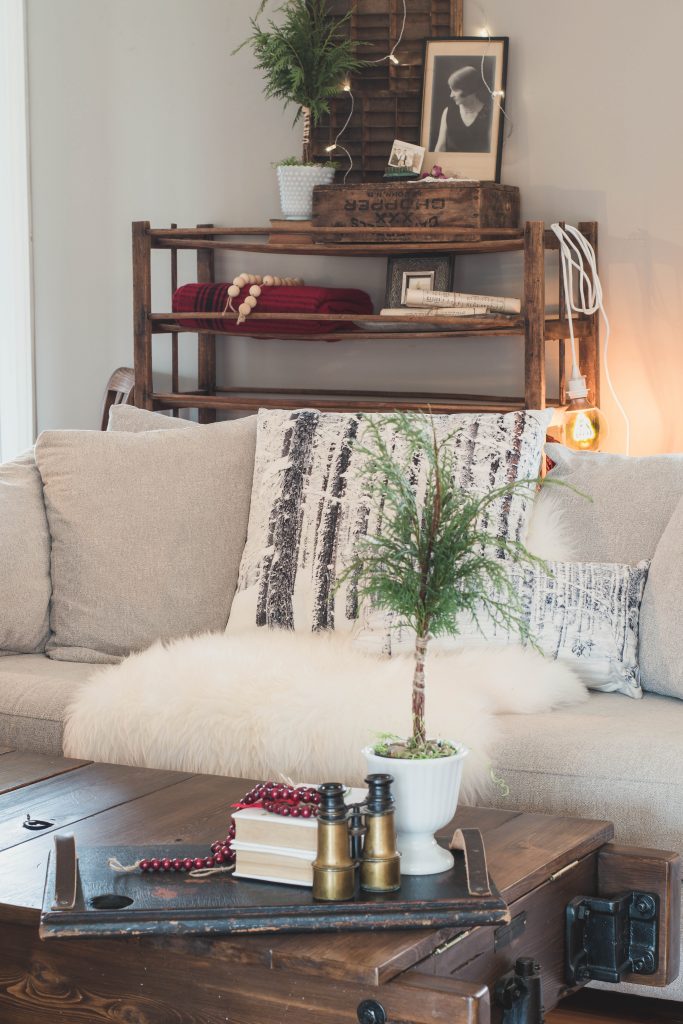 This is a pretty simple way to add lots of topiaries (I made 6) and fresh greenery to your Christmas home. I won’t kid you, they will dry, except the one I put in water, but they will stay green and fluffy like you see them here (kind of like an 80’s hair style – that has been sprayed to look perfect) and they will be easy to dispose of when the holiday season is over, for this girl that’s a win. I think I may try this topiary technique with some other greens… hmmmmm, I’ll keep you posted on that.
Thanks for taking the time to come visit Vinyet Etc, now make sure to go visit all of my wonderful #CDNblogsquad friends and check out what crafts they are sharing, I can’t wait to see what they’ve been up to.

From left to right, top to bottom:
AKA Design | Vinyet Etc. | The DIY Mommy | A Pretty Life
Sustain My Craft Habit | A Pretty Fix | Making it in the Mountains | The Learner Observer
BrooklynBerryDesigns | Country Parent | Craftberry Bush | Amidst the Chaos
northstory | Life is a Party | Pink Little Notebook | hodge:podge
This Mamas Dance | Rambling Renovators | Suburble | PMQ for two (not shown)
Thank you so much for joining us in this Christmas craft hop, I hope you’ve found some crafts that you think will work for your decor and home. I’m so thrilled to be joining in with my fellow Canadian friends again (if you can’t tell 😉 ), if you’d like to see us in one place all year round though and not just for the blog hops, you can follow this hashtag #CDNblogsquad on Instagram! Most of us tag our work ALL YEAR LONG, it’s easier for us to support and follow each other, hashtags are so convenient for finding excellent content!
AND…
Tomorrow is my turn in the Canadian Bloggers Home tour,make sure you pop back in to see that.




9 Comments
I totally feel like this season snuck up on me, and like I’m constantly forgetting something! I really need to relax hahahaha! I love topiaries…they’re so simply beautiful! xo
These topiaries are SO CUTE! I want to make a bunch of them and put them all over the house. Also, I agree with Jo-Anna. This Christmas has just leapt out and shouted “Boo!” to me – how are we already into December?
These topiaries are so cute, Laurie! Sometimes it’s difficult to think of ways to incorporate greenery in cool and creative ways, but you nailed it here 🙂
This is a cute project! I love fresh greenery. I agree, I’m not sure how December arrived so quickly!
I love this fresh take on adding greenery to any space for the Holidays. Beautiful!
Great idea! I love the idea of spreading some greenery around, and this is how I’d do it!
Laurie, your simple diy topiaries turned out great. Such a fun Christmasy touch. Love them.
They are so expensive right!? Love, Love, Love this project. I’m so trying this at home! Great job!
What a great way to make topiaries on a budget. These look great and I love the milk glass that you used to hide the plastic pot.