Whoa, it’s time for November’s #12MonthsOfDIY already! Is anyone else overwhelmed by all of the Christmas everywhere, I mean some trees are already up and decorated!! Oh my goodness, I am in shock… not sure why I’m in shock though as Christmas comes every single year… every year I get flustered and start rushing around like a crazy lady, but somehow Christmas always turns out wonderfully. Well, I’ve officially started my Christmas prep, there is no tree up yet… so never mind that this is the only thing I have done, we’ll just pretend I am on the ball and all is calm behind the scenes, are you with me? 😉
For this month’s challenge we are using paper… be sure to check out what my talented friends have created with paper at the end of this post, SO much inspiration. We would love it if you would join us for our Instagram challenge, it’s so easy to join in and have your project (our favourite) featured on all 12 of our Insta accounts.
To play along:
1. Follow your hosts on Instagram:
@lifeisaparty
@BrooklynBerryDesigns
@love_create_celebrate
@vinyetetc
@ziajojo
@lifeovereasy
@pmqfortwo
@timewiththea
@thediymommy
@heathernheels
@freshcrush
@sustainmycrafthabit
2. Share a photo on your public IG account of your own paper DIY project with the hashtags #12MonthsofDIY and #novemberpaper by November 29th.
3. Check back in on Instagram on November 30th to see if your project has been chosen as our favourite, easy right?
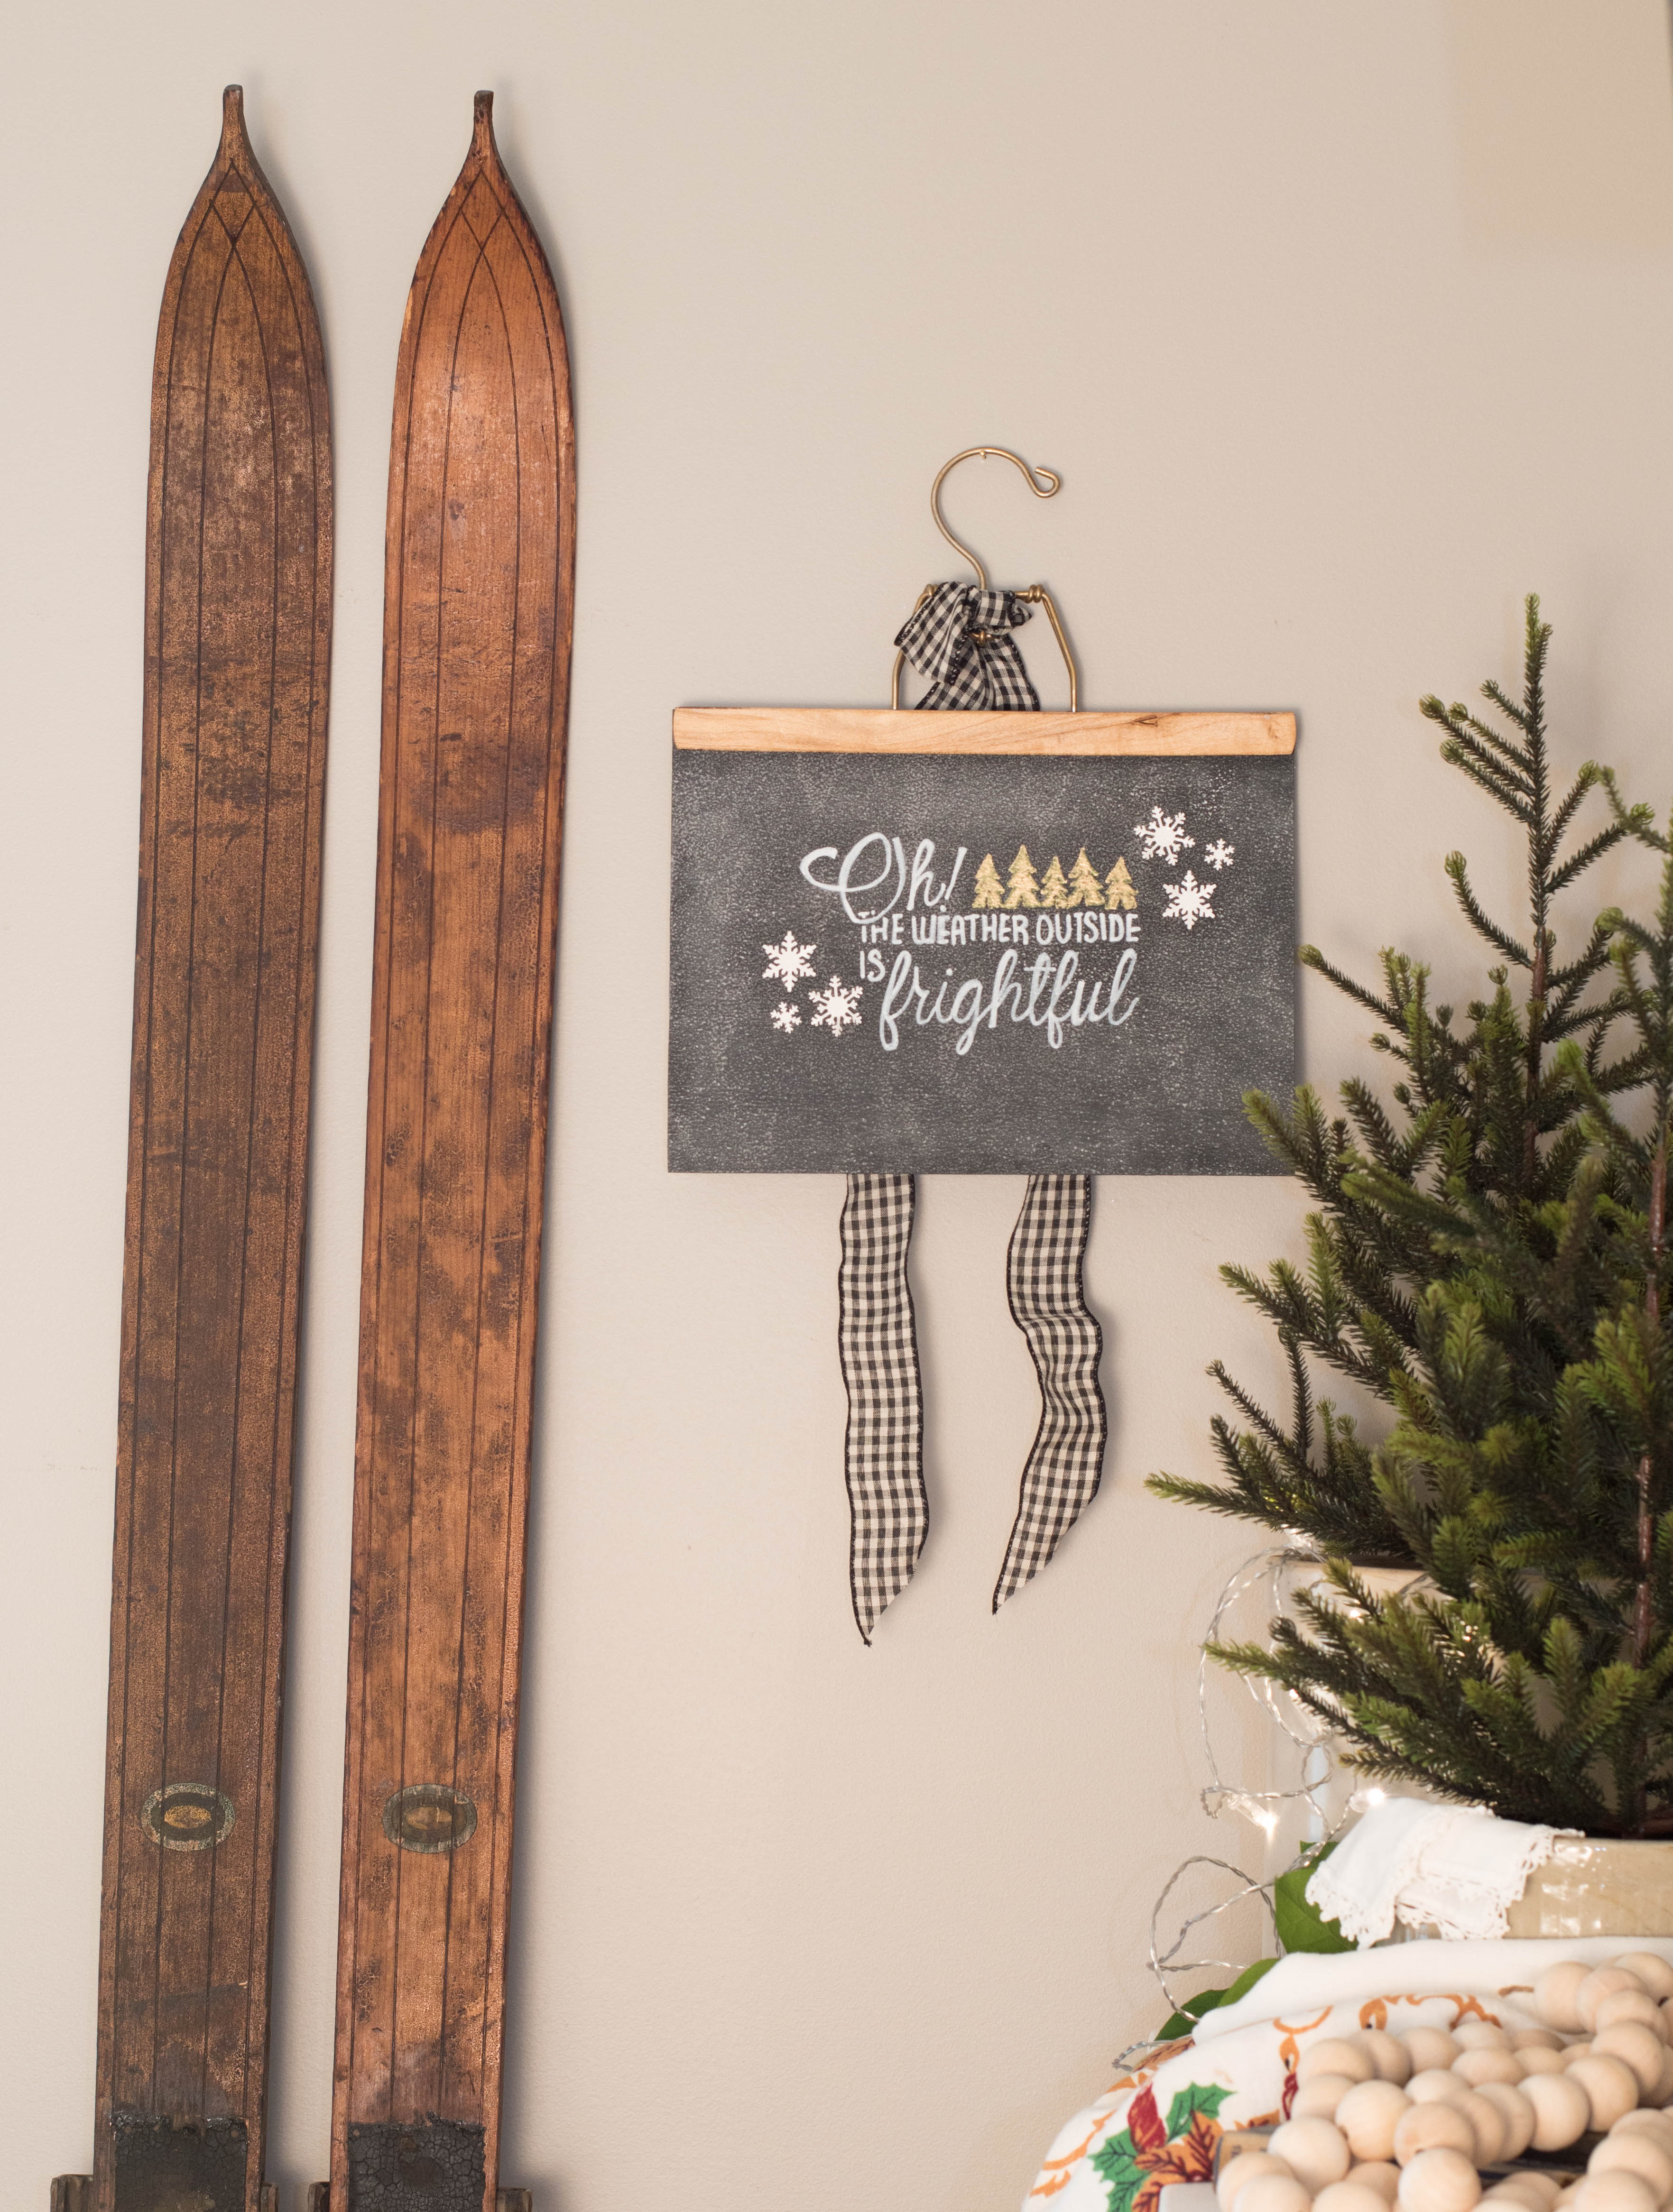
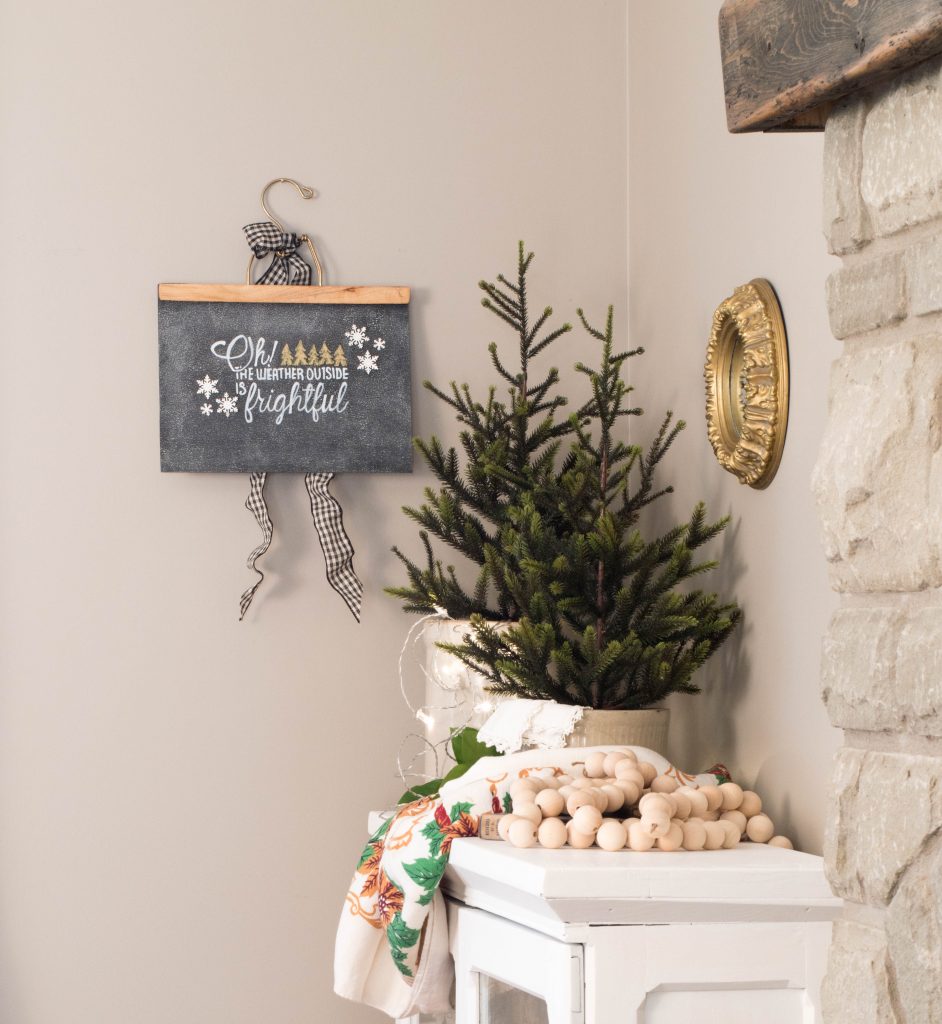
My project is so easy and turned out so well that my brain is now swimming with the possibilities, chalkboard paper gift tags, chalkboard paper gift wrap, chalkboard paper labels, chalkboard paper garland… it can literately go on and on, just let your imagination go and have some fun. I decided to make some art with some watercolour paper I had on hand, but first I painted my watercolour paper with chalkboard paint – like I said SO easy. Let me tell you how I did it.
Tutorial
Items you will need:
9″ x 12″ watercolour paper (I used 90lb weight)
Chalkboard paint black (apply with foam roller)
White carbon paper or white sewing tracing paper
Vintage pant hanger
Decorative ribbon
Image for tracing onto the chalk board paper
chalkboard markers
white chalk
spray adhesive
Snow flake punches (optional)
Steps to creating chalkboard paper art:
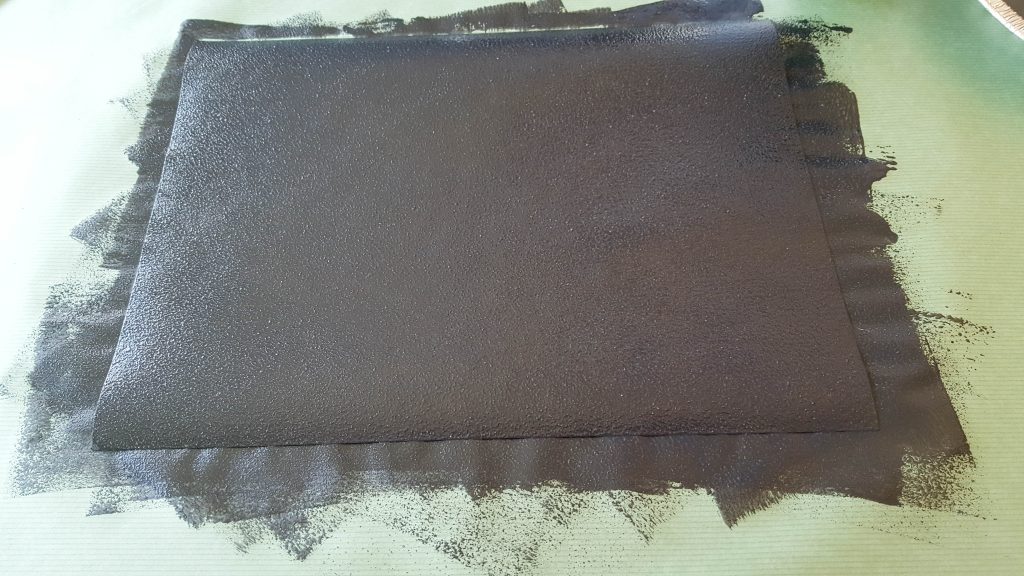
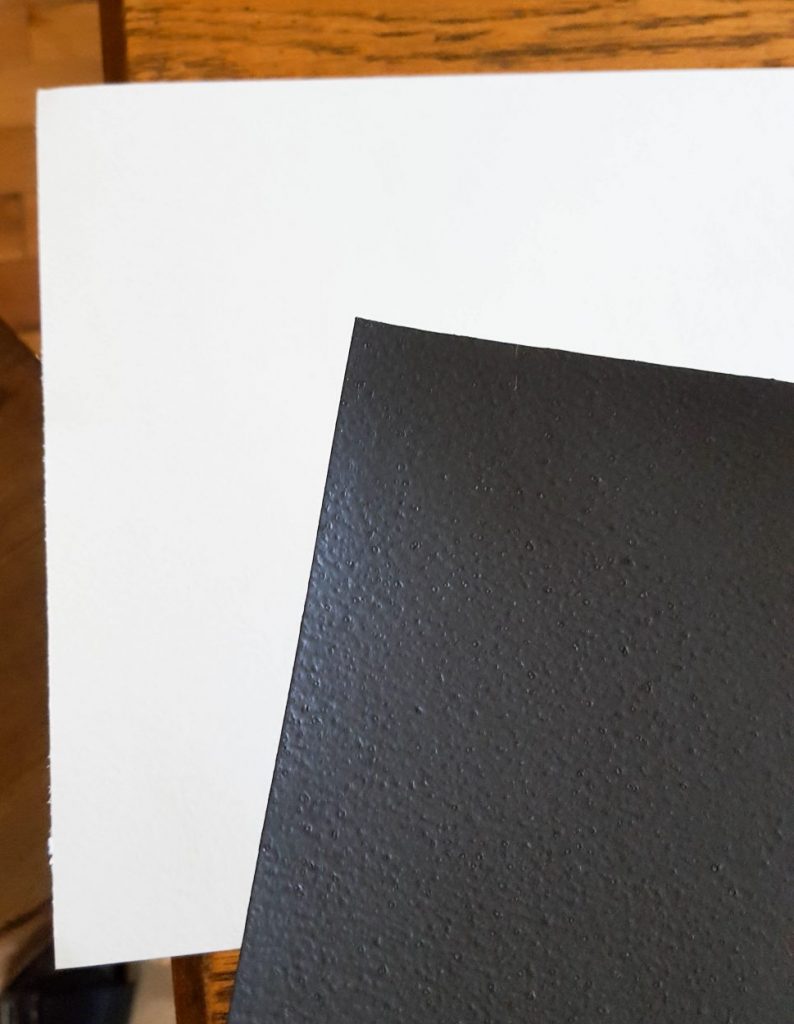
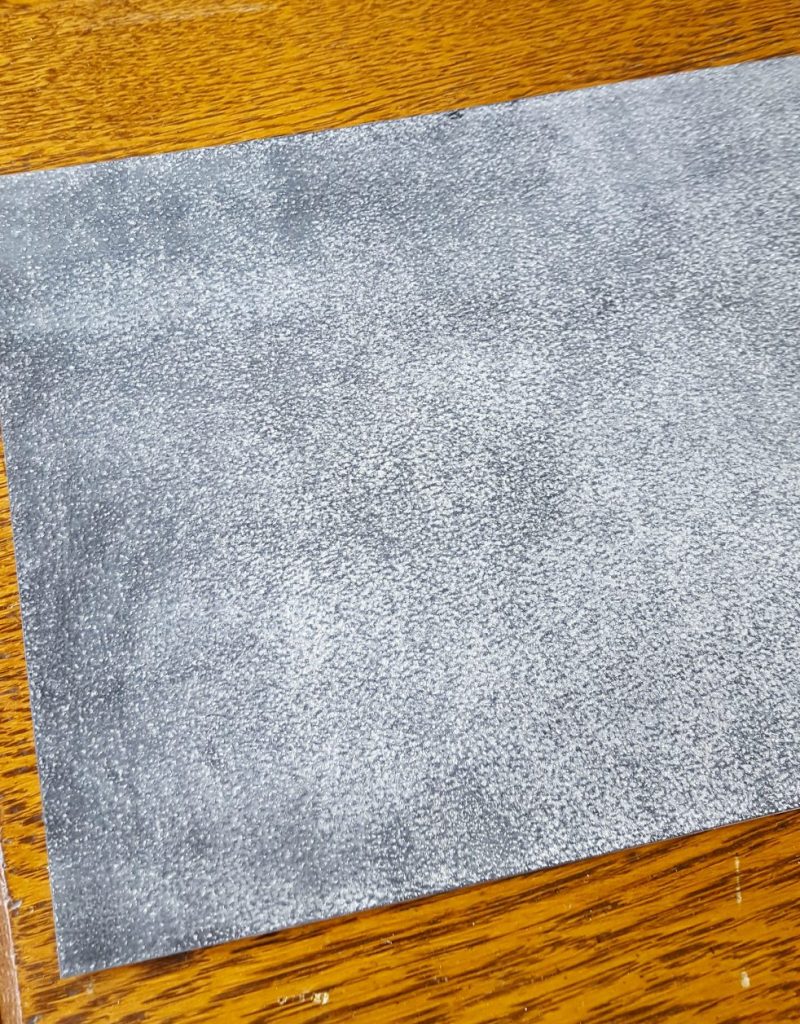
Paint one sheet (one side) of watercolour paper with chalkboard paint, let dry. I did 2 full coats.
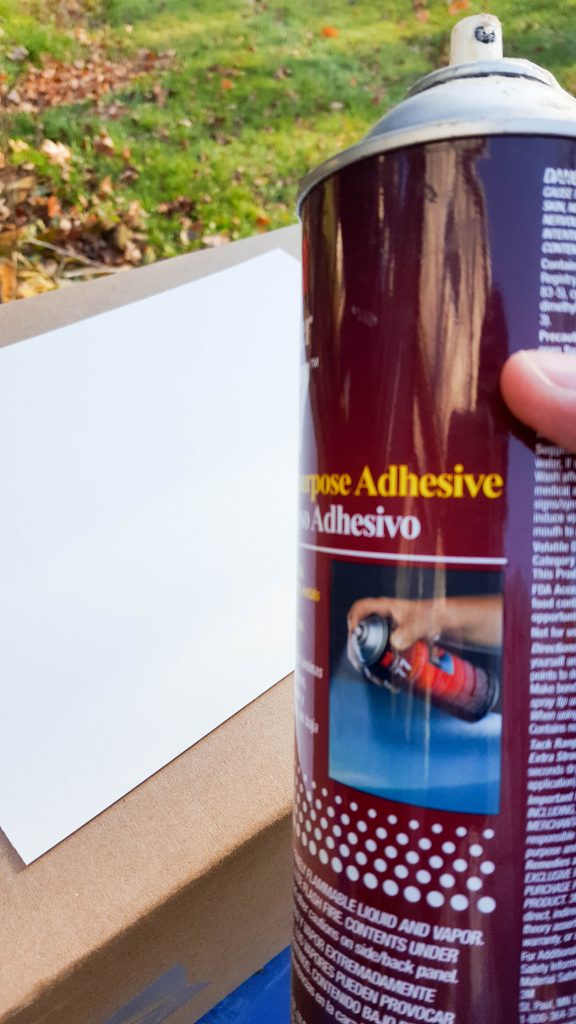
Once the paint has dried spray glue a clean sheet of watercolour paper (in a well ventilated area) and lay your painted paper on top of the glued paper smooth it flat with the palm of your hands, this will help it stay nice and straight, your edges will not curl.
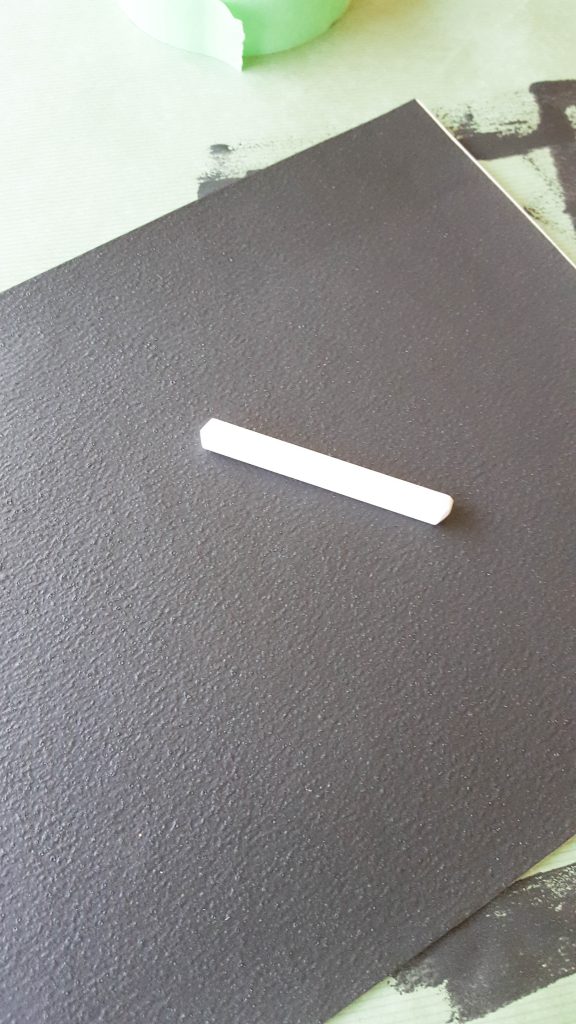
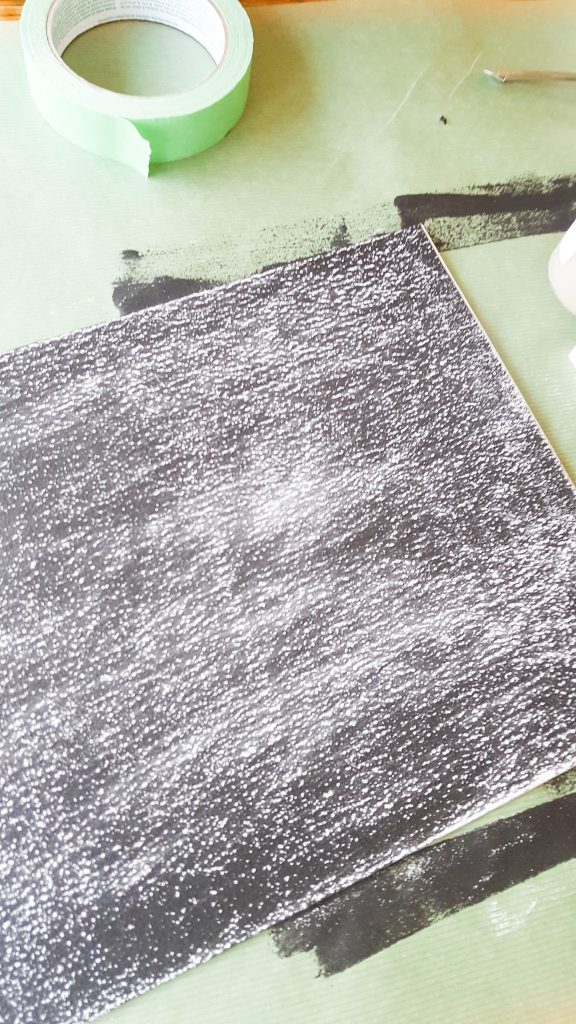
Season your chalkboard paper like you would with a normal chalkboard. Seasoning a chalkboard is easy, rub the entire surface of your chalkboard with the side of a piece of chalk until the whole thing is covered, wipe off excess with a soft cloth.
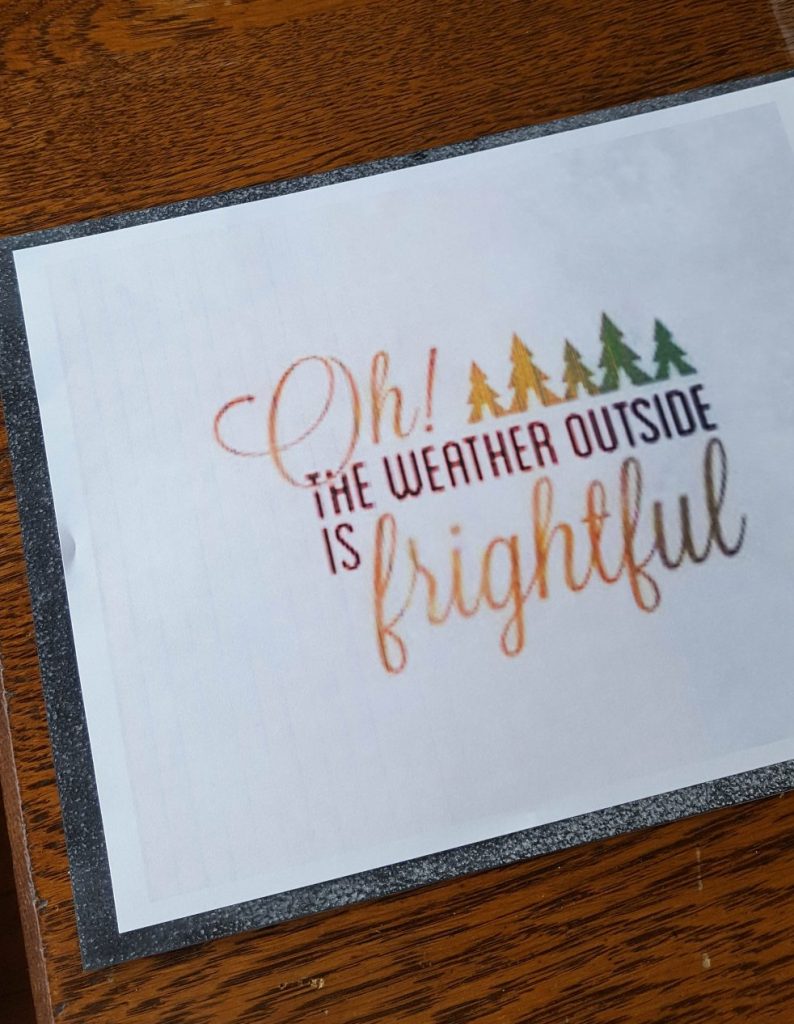
Print an image or a fun winter saying… or whatever strikes your fancy from your computer and make sure it’s sized to fit over top of your chalkboard paper. I just used an image from a google image search – “hand drawn Christmas quotes”.
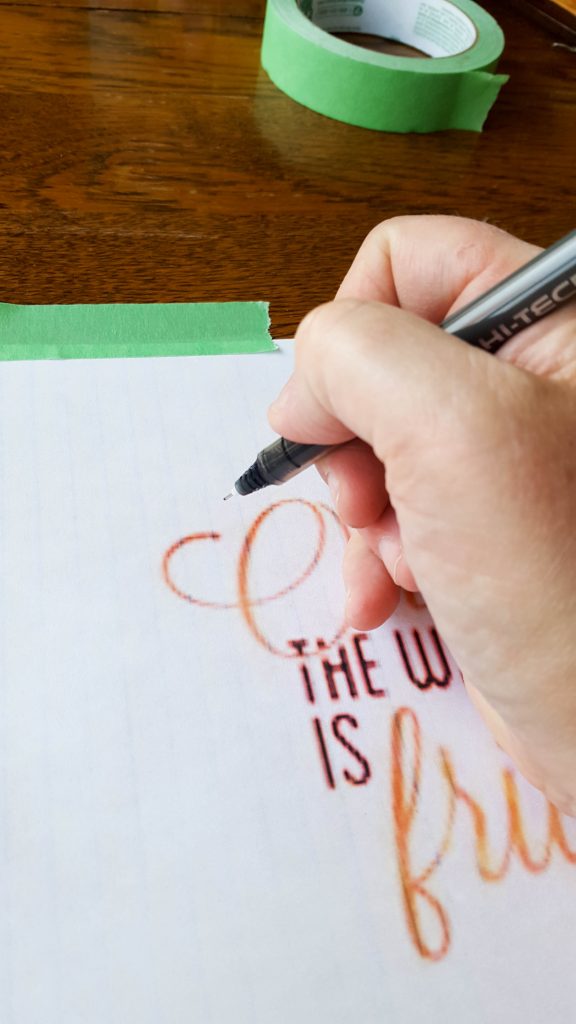
Lay your chalkboard paper flat on a table, place your image on top of your chalkboard and use painters tape to hold it steady. Lift the tracing image from the bottom and slide your white carbon paper in between the chalkboard and your tracing image. (carbon side down towards the chalkboard)
Use a sharp pointed pen and a fair bit of pressure and trace over your image. When you take your top image off of your chalkboard you should have a faint outline of that image, now simply trace over that with some chalkboard markers as mentioned above, use any colours that strike your fancy, I used white, green (that was a fail, too dark for the black) and gold. I also used a snowflake punch on some plain watercolour paper and glued on some decorative snowflakes for fun… it’s completely up to you how much you want to decorate your new chalkboard art, once I was happy with how it looked I simply clamped the vintage pant hanger on the top of the paper and added some decorative ribbon. I hope you like this very simple DIY project and it’s given you some ideas… I know I want to try my hand at making my own chalkboard gift tags next.
Thank you so very much for stopping in at this very busy time of year, I hope these paper projects will give you some inspiration and make this holiday season crafty! xo
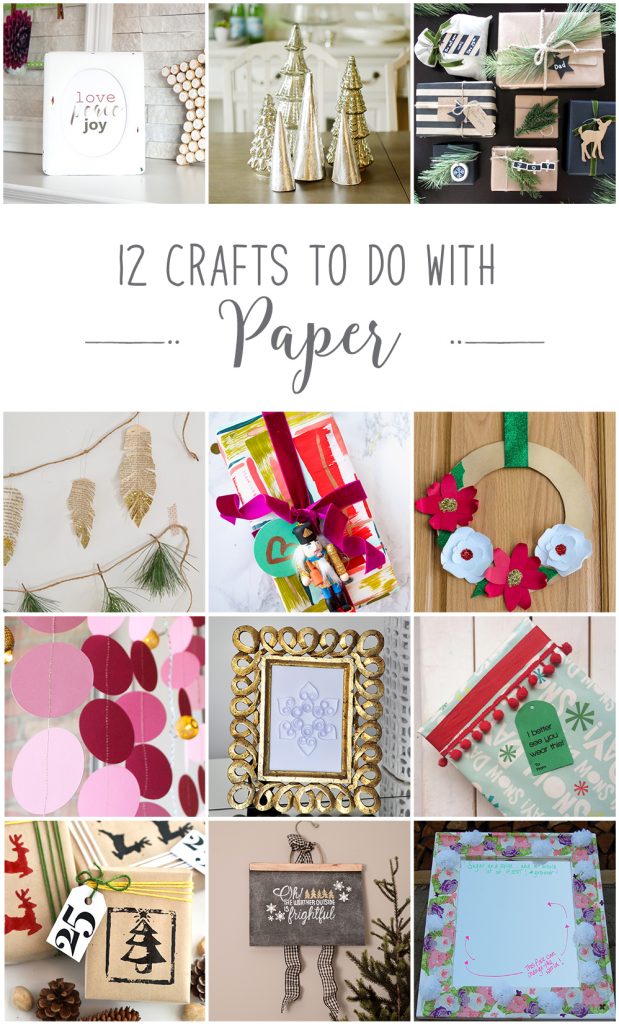
Now it’s time to see the rest of the DIY PAPER project ideas from my Canadian blogging friends, enjoy!
From the top left, they are:
Free Love Peace Joy Christmas Printable from Sustain My Craft Habit
Silver Leaf Paper Trees for Christmas Tabletop Decor from The DIY Mommy
Rustic Gift Wrap Ideas from Love Create Celebrate
Book Page Feather Garland from Life Is A Party
Deconstructed Plaid Wrapping Paper from PMQ for Two
Make 3D Paper Flower Christmas Wreaths from Time With Thea
How to Make a Paper Garland from Fresh Crush
Quilled Paper Snowflake from Lifeovereasy
Funny Printable Gift Tags from Brooklyn Berry Designs
DIY Linocut Print Kraft Paper Christmas Gift Wrap from Woman In Real Life
DIY Chalkboard Paper Christmas Art from Vin’yet Etc.
DIY Floral & Paper Decoupage Girl Power Mirror from Heather in Heels


26 Comments
This is such a great project, Laurie! And it looks perfect in your Christmas-y corner. Perfectly styled, as usual! ❤
Awwww, thanks Angie, that is so sweet of you to say! xo
Hard to believe this was as simple as it was. The results are anything but simple…love this one!
Thanks so much friend… it was so easy, can’t believe I haven’t made this sooner!
Well maybe this is all you have done in terms of Christmas decor, but at least it’s awesome! What a great idea! This little beauty would comfort me once the weather outside is indeed frightful. 🙂 If I didn’t have a blog I wouldn’t even be thinking of Christmas decor right now to tell you the truth. Normally I like to cut down a tree the first weekend in December and that begins our decorating. (Had no idea you had to season a chalkboard btw.)
Haha, thanks… I’m still feeling a bit panicked but I have a list now… ugh! Ditto on the thoughts of Christmas if the blog wasn’t here, I just have to tell myself it will all come together, right? Yes, seasoning a chalkboard will allow you to use it over and over, if you don’t season the first marks you make are so hard to get rid of. xo
Great idea! I would have just made a chalkboard, but that takes time and they can be cumbersome. Just doing a sheet of paper that can be discreet is such a great idea! Love the execution – of course 😉
Thanks Ariel! I had a chalkboard in my storage for 4 years just for that reason, it was so cumbersome… I like that you can customize it on a whim, it’s so fast and easy. Can’t wait to make some gift cards, hopefully I’ll have time! haha my brain is full of ideas but the days (and energy) are limited.
This is so cute and fun! Kids would LOVE having a little place to write messages. 🙂
Hi Sarah! This would be so fun for kids, so easy to personalize for each household’s needs. Thanks for stopping in. xo
Such a great idea, I love it! And I’m with you on feeling behind! I need to get it together haha
Hi Jo-Anna! Thanks, Christmas does this to me every year, my goodness you’d think I’d be prepared by now! Oh well, I sometimes need that stress energy to get going, I at least have a list now and some of the projects started, hahaha! Wish me luck! xo
Brilliant! I never would of thought to make a chalkboard out of paper. Now you have my wheels turning… 😉
Thanks lovely friend, soooooo many possibilities! It’s so versatile and EASY! xo
this little corner looks like the coziest nook to sip cocoa and stare at all the prettiness. I love this project.
Awww thanks my friend! I miss you, btw! Miss being Snapchat besites! xoxo
I love the way this looks especially the way its hung! So cool! I don’t have my tree up either, but slowly working on other spaces.
Thanks Brooke! It’ll all get there, right?! It’ll be a manic panic at the end for me… every year! haha
Laurie, I think this DIY Chalkboard Paper Christmas Art is my favourite one that you have created so far! How clever to use water colour paper (I love working with water colour paper!) and to paint it with chalkboard paint. Your instructions were so clear to follow! Of course you used a vintage pant hanger to hang it up! The whole project looks fabulous and what a great way to start decorating for Christmas!
Thank you sweet friend! xoxo You are always so kind and supportive, I adore reading your comments! <3
I hear ya, I’m overwhelmed with the Christmas everywhere too. I love this project, it’s beautiful and perfectly rustic. I’m so surprised this was made with watercolor paper! Thanks for the idea:)
You are so welcome darling friend, it’s sooooo easy not even funny! xo
Laurie your art is beautiful. Love the chalkboard effect, and the vintage hanger is perfect. Such a pretty vignette -as always.
Thanks girl, I’d love to pick your brain one day (weekend) so you can teach me your mad skills! xo
Love this DIY! And Christmas (and the holiday season in general) is totally overwhelming – keep thinking positive thoughts and making bomb-ass DIYs 😉
-Clarissa @ The View From Here
Hi Clarissa! haha, hey girl, thanks so much, I’ll keep on trucking and try to keep making the bomb-ass DIYs, I LOVE that so much, thanks! xo