I love to use different things when I create vignettes, decorative beads are one of my favourite ways to add a pop of visual interest. Decorative beads add so much texture, movement and whimsy in my opinion. Today I’m going to chat with you about how I made these DIY Decor Beads with a thrifted Beaded Seat Cushion… But first, let’s talk about my thrifty friends, they are so very talented!
Thrifty Style Team
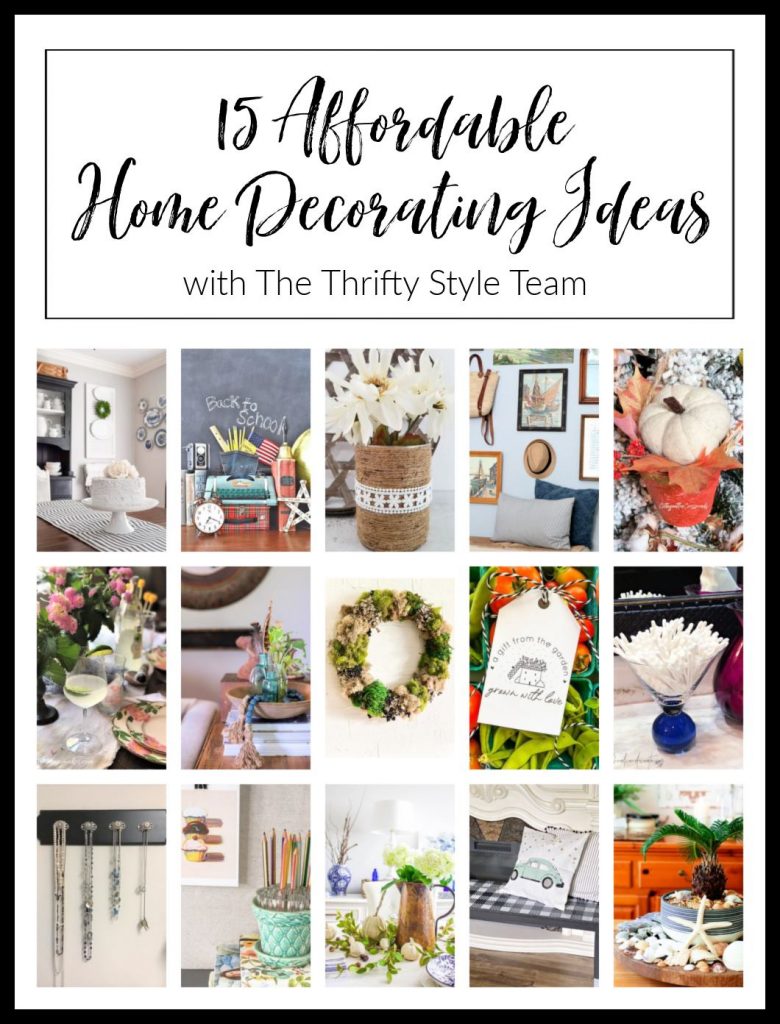
It’s that time again, the second Friday of the month and that means I’m hanging out with my thrifty friends, YAY! The Thrifty Style Team is hosted by Julie over at Redhead Can Decorate. Each month the TST will be sharing inspiring and thrifty projects with you all, you can find the whole team and all of the links to their projects at the end of my post. Here is a wonderful sneak peek, so many amazing projects, right?!
This is how I made some decorative beads out of a thrifted beaded seat cover.
DIY Decor Beads From A Thrifted Beaded Seat-cover
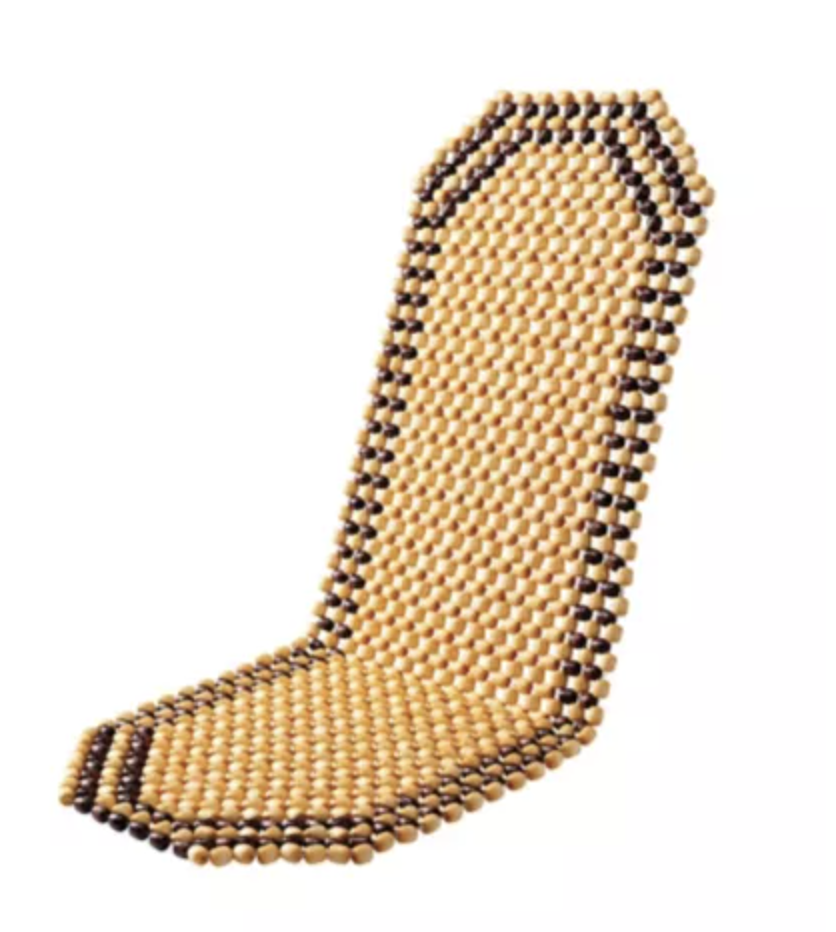
I came across one of these beaded seat covers at the thrift store for $8 on one of my thrifting adventures… I actually carried it around in my cart for a half hour, I was not 100% sold on how I was going to use it and it kind of grossed me out a tiny bit to be completely honest. How many people actually sat on this bead seat cover? I had to push that thought out of my mind and think of all of the beads I would get when I took it apart. My original thoughts were to make a beaded light shade. Fast forward a few months and I decided that the beaded light just wasn’t my style, even though I really love the way they look. SOOO, what to do with all of these beads? This is how I ended up using them.
Steps – DIY Decorative Beads
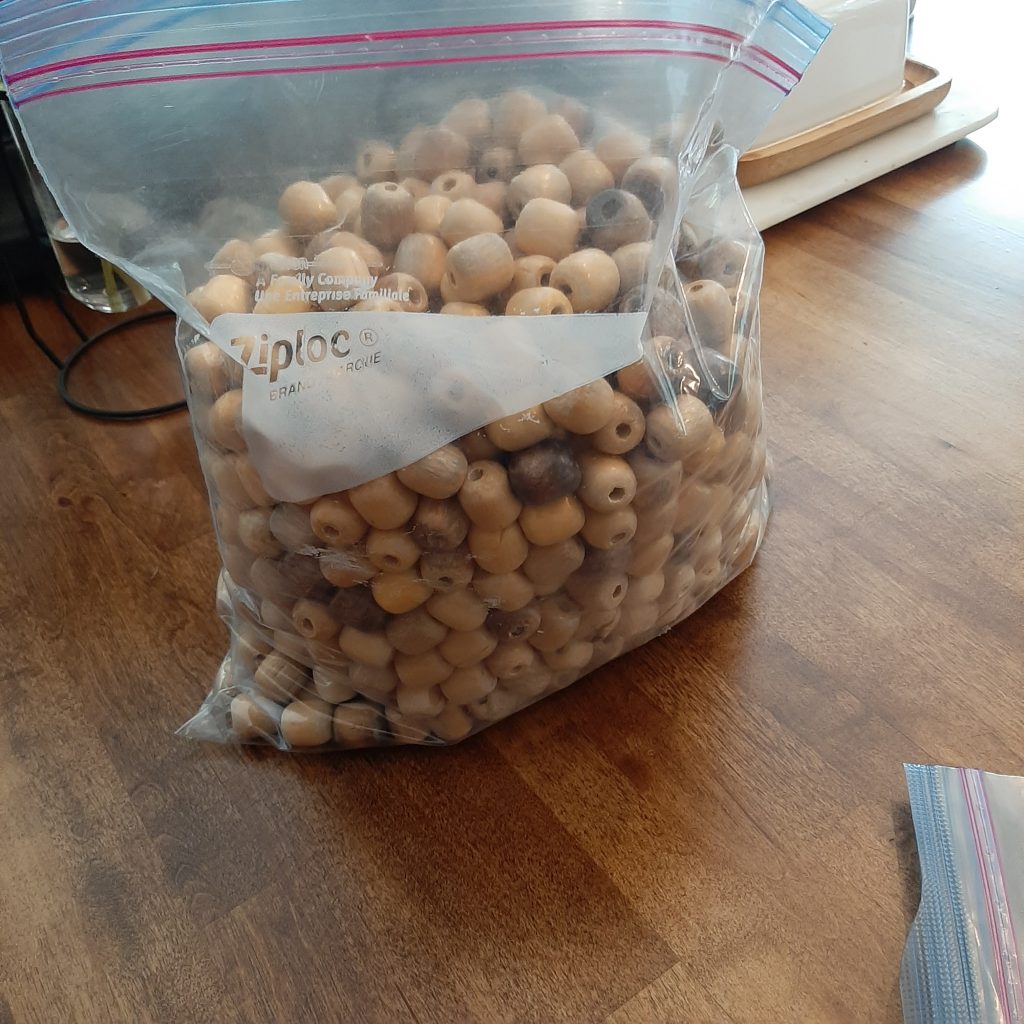
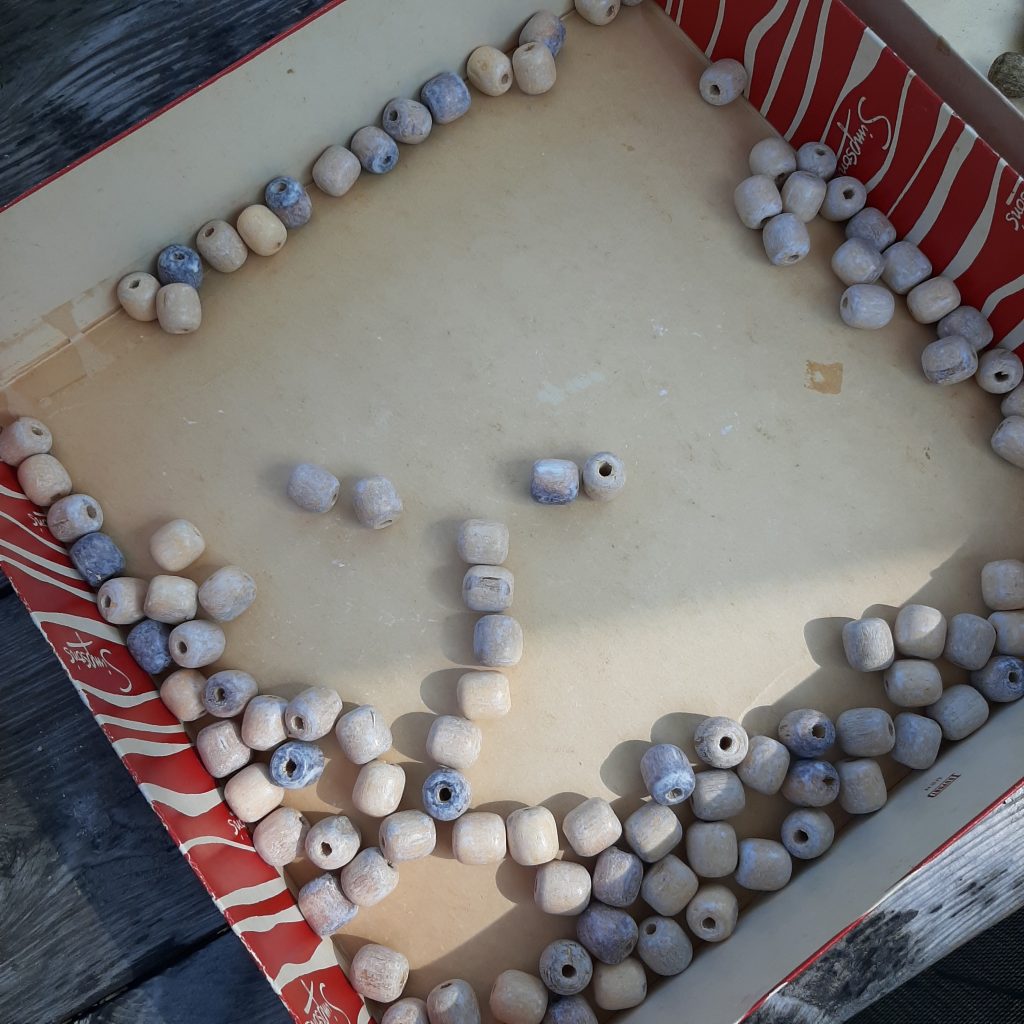
- Take the beaded seat cover completely apart. I used a seam ripper and smaller scissors – once the beads are completely apart wash the beads with warm sudsy water, and lay them to air dry. I don’t have any photos of this process, however this is the large freezer bag full of the beads I ended up with.
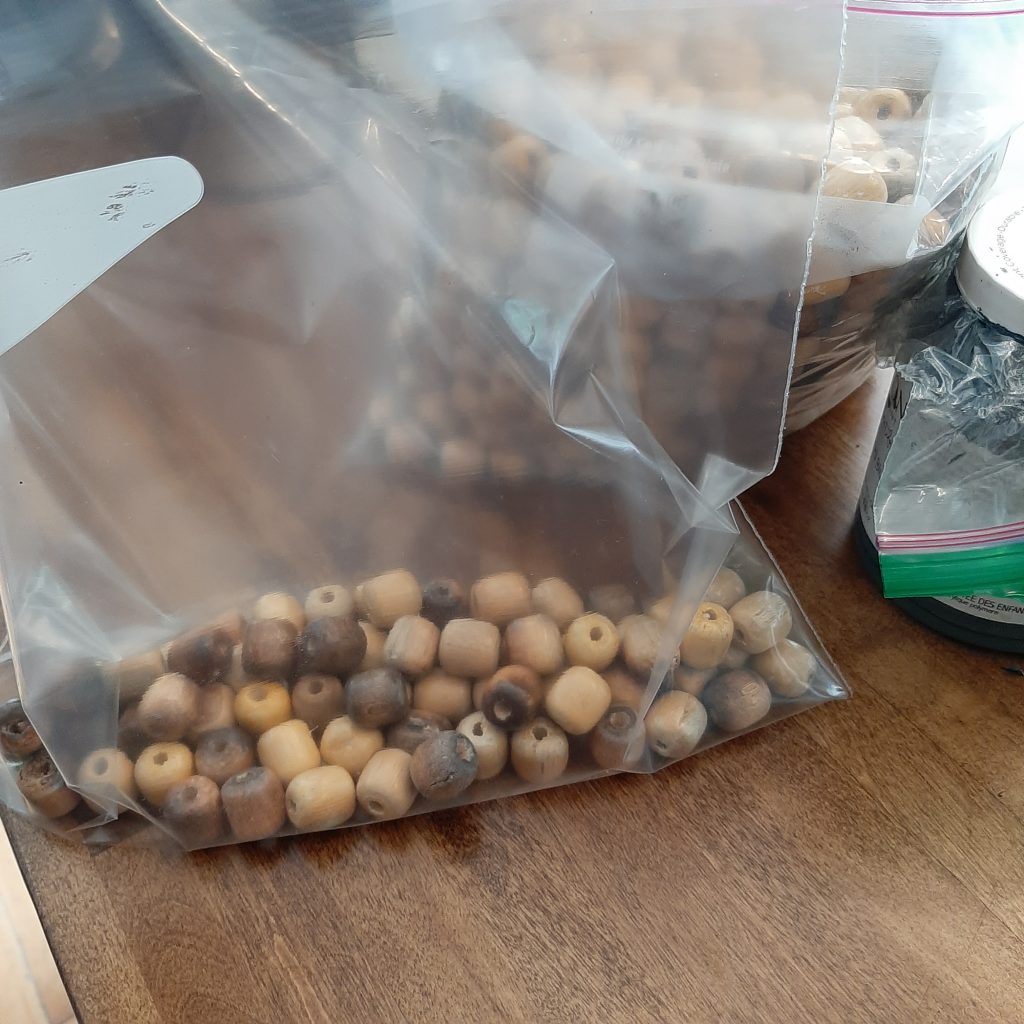
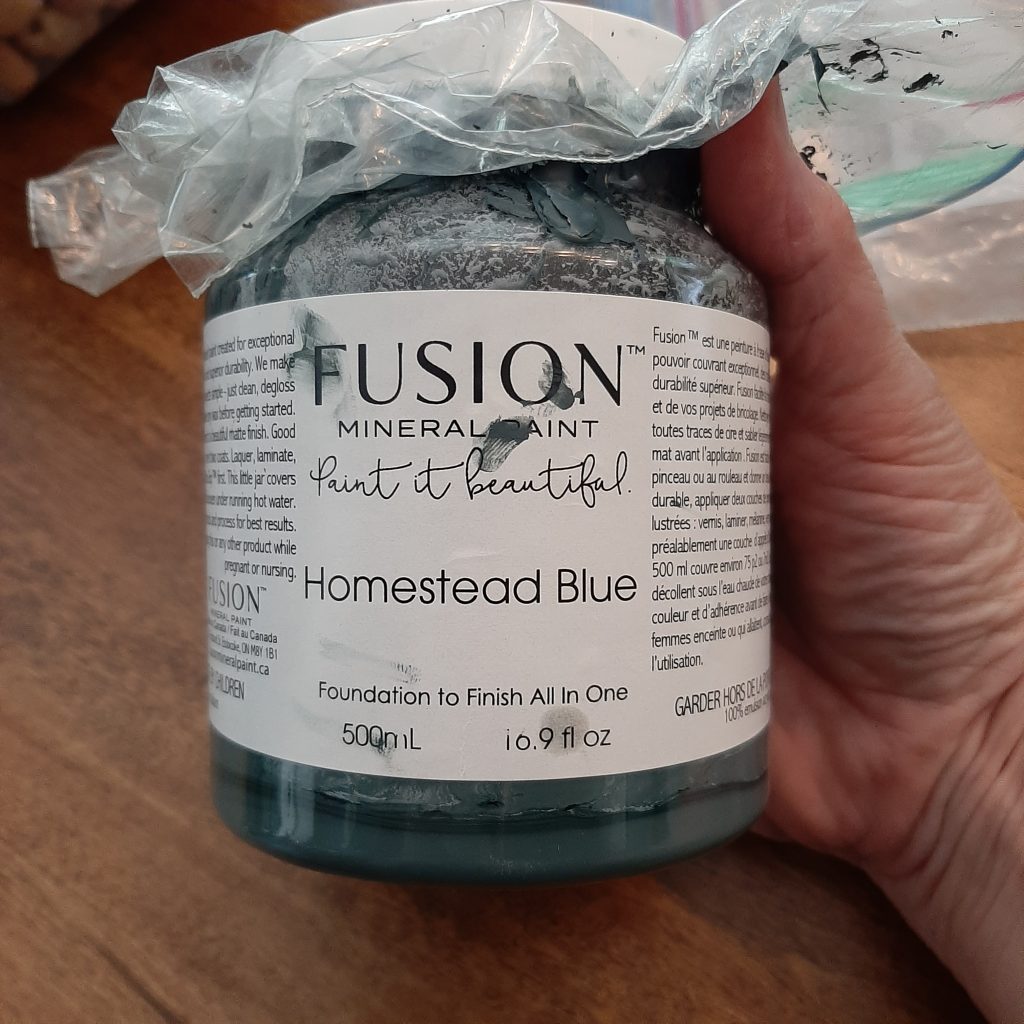
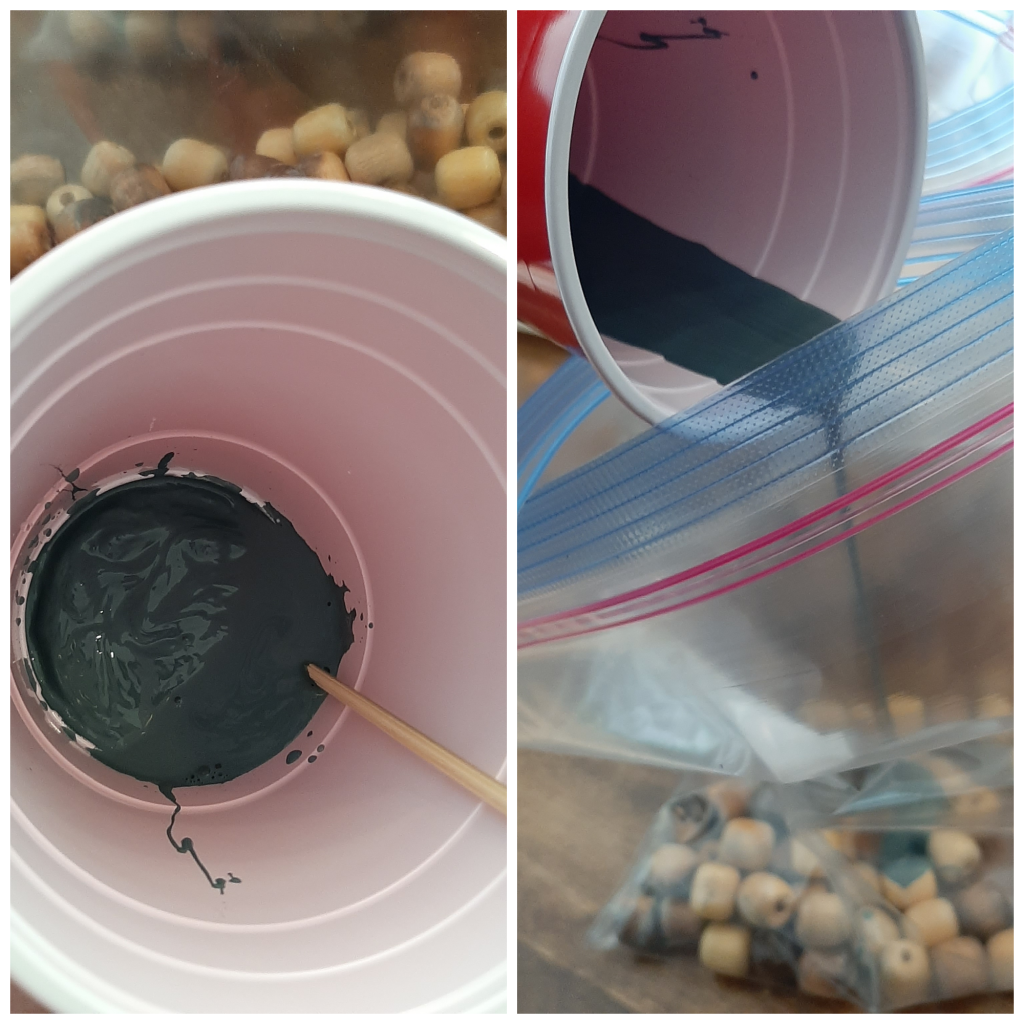
2. Separate some of the beads into a different baggy(s) – I decided I wanted to do 3 different colour choices. Firstly my favourite paint, Fusion in Homestead Blue.
3. Pour a small amount of paint into a red solo cup (or a container of your choice) and add some water and stir, the paint should be very runny.
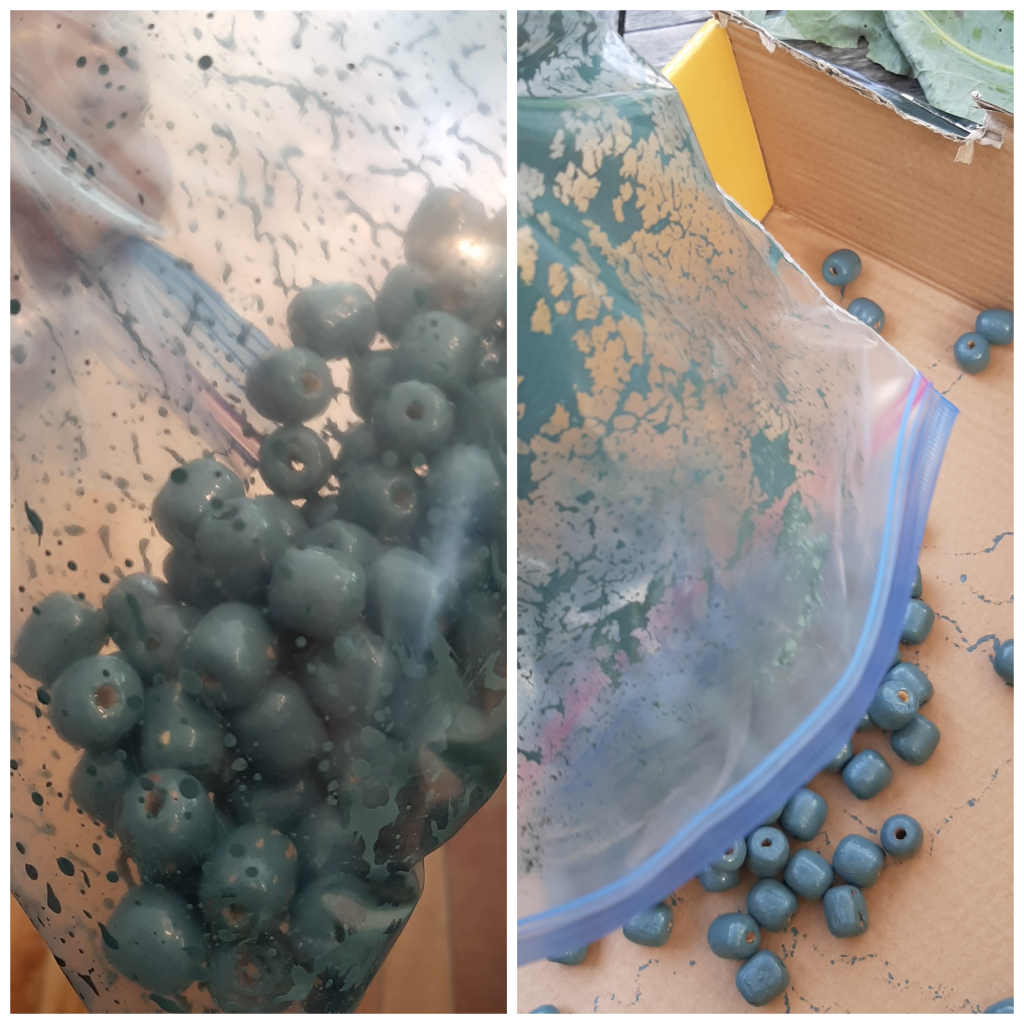
4. Pour the paint into the bag with your plain beads and shake the daylights out of it until you feel like all of the beads are adequately covered. Pour the beads out of the bag for drying – leave them to completely dry.
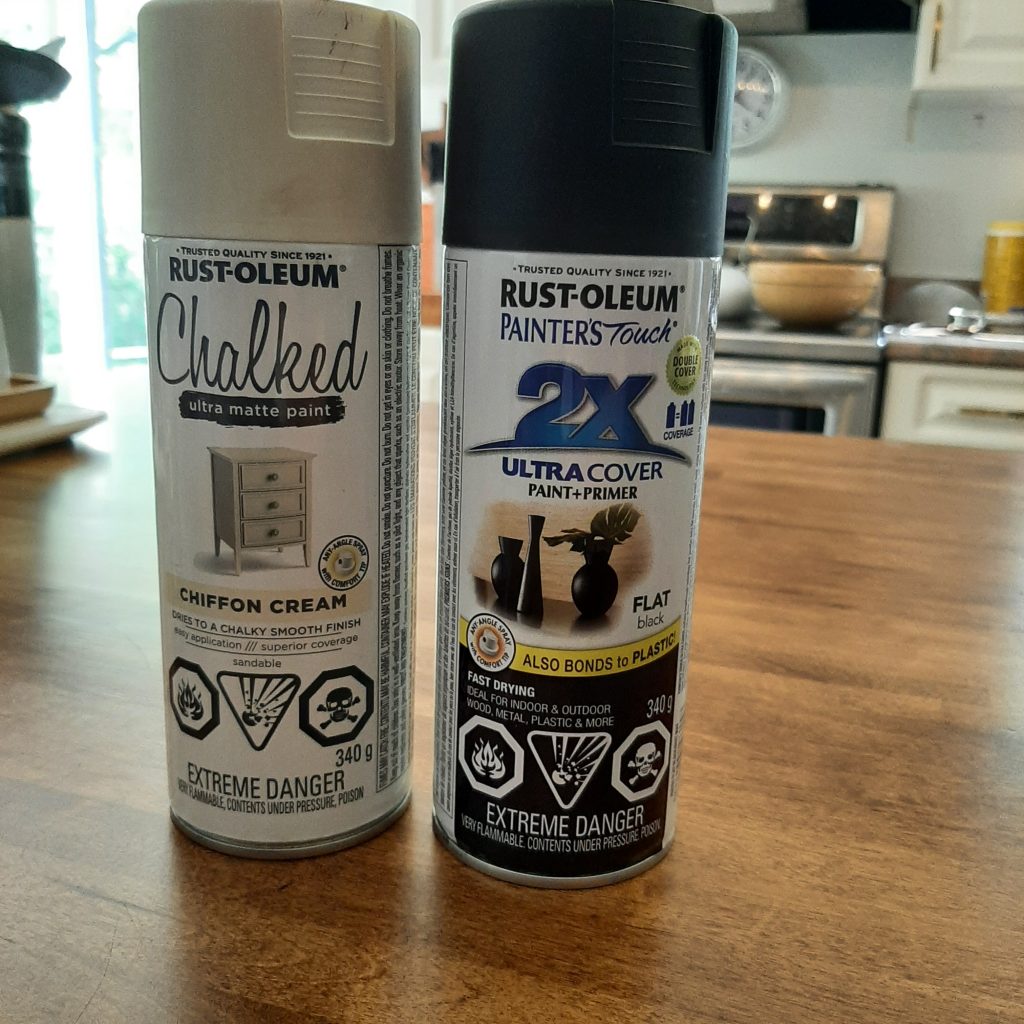
5. Next I wanted to make some black and white beads, I used matte black, and Chiffon Cream Chalked by Rust-oleum.
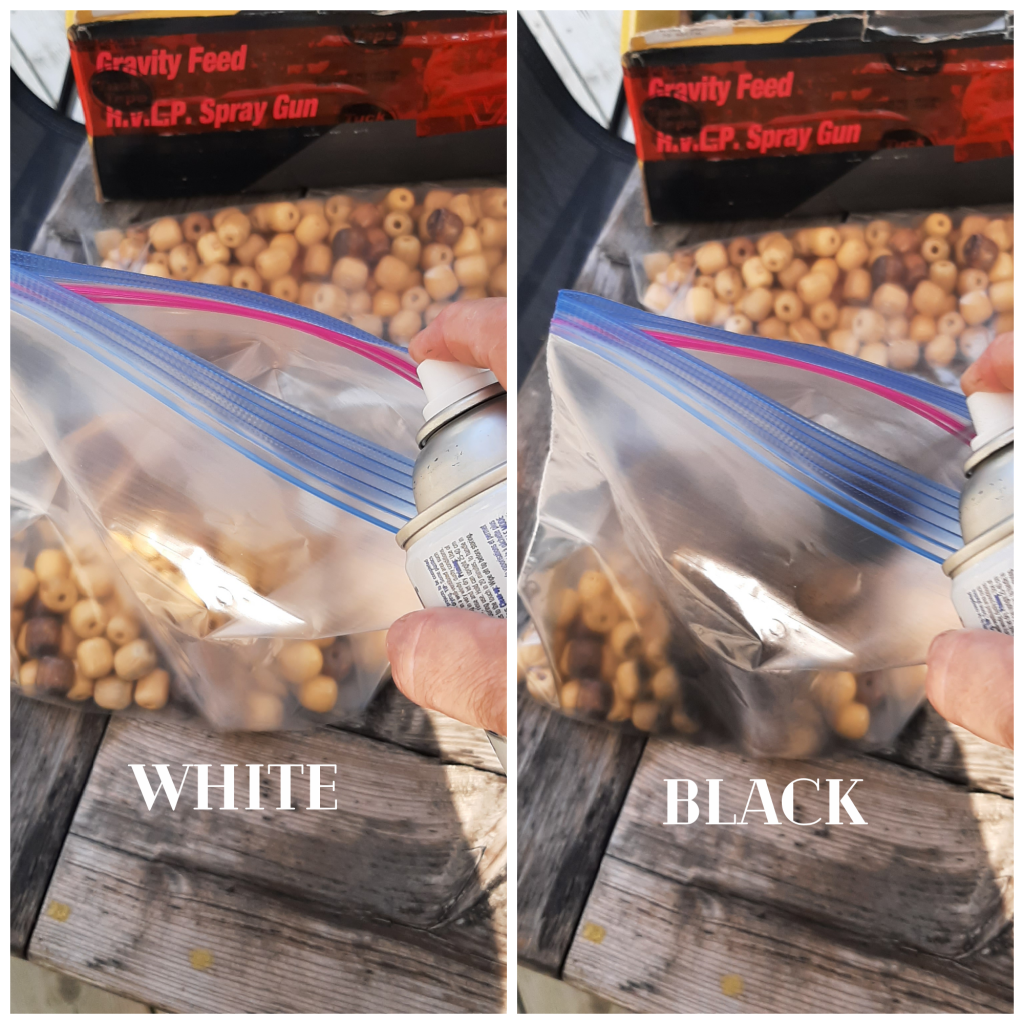
6. Same steps as above, separate the beads into individual plastic bags. Spray your paint colours into the bags, shake and spray more into the bags as desired, pour the beads out to dry.
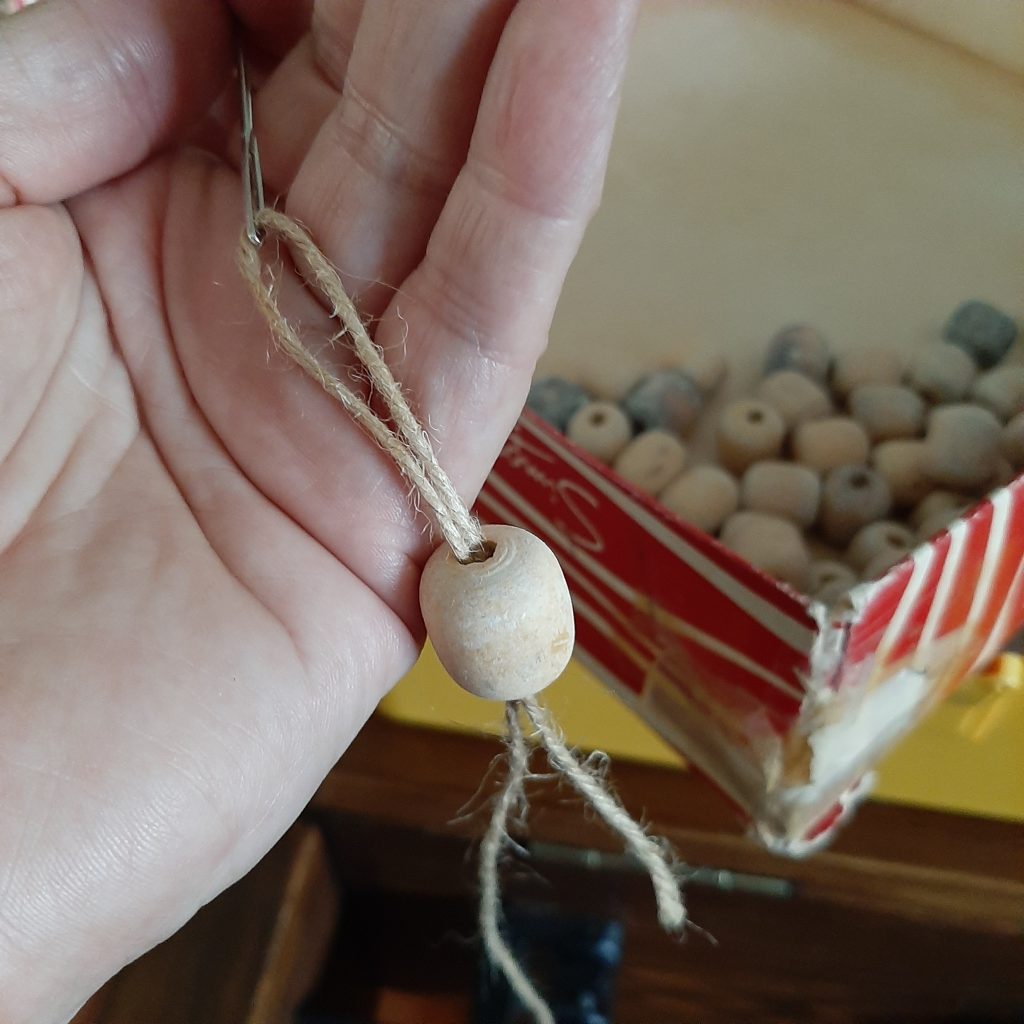
7. Once dry it’s time to string your beads… I used a thiner jute, and a darning needle.
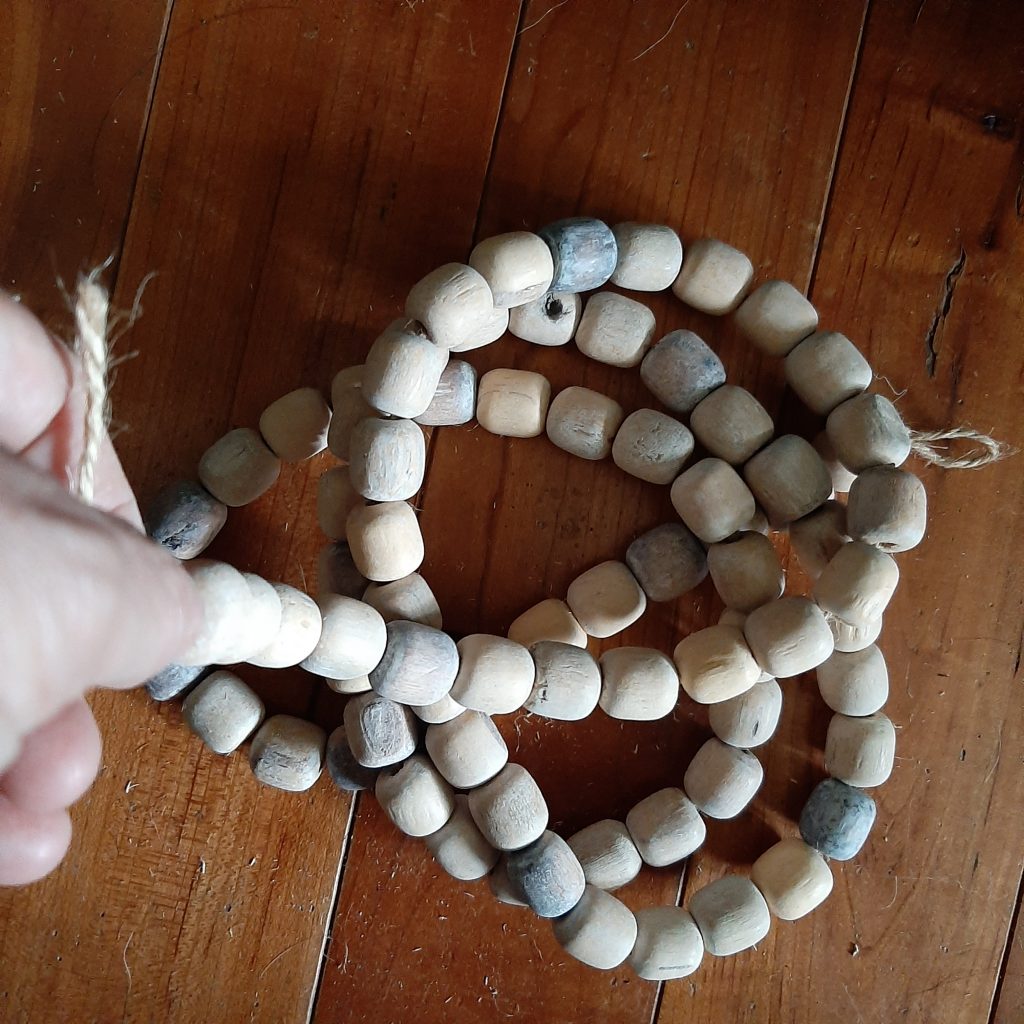
8. TIP – When stringing the beads let the strand coil on the floor, this will ensure you are not stringing the beads too tightly and they will hang nicely when styling with them.
How they Turned Out
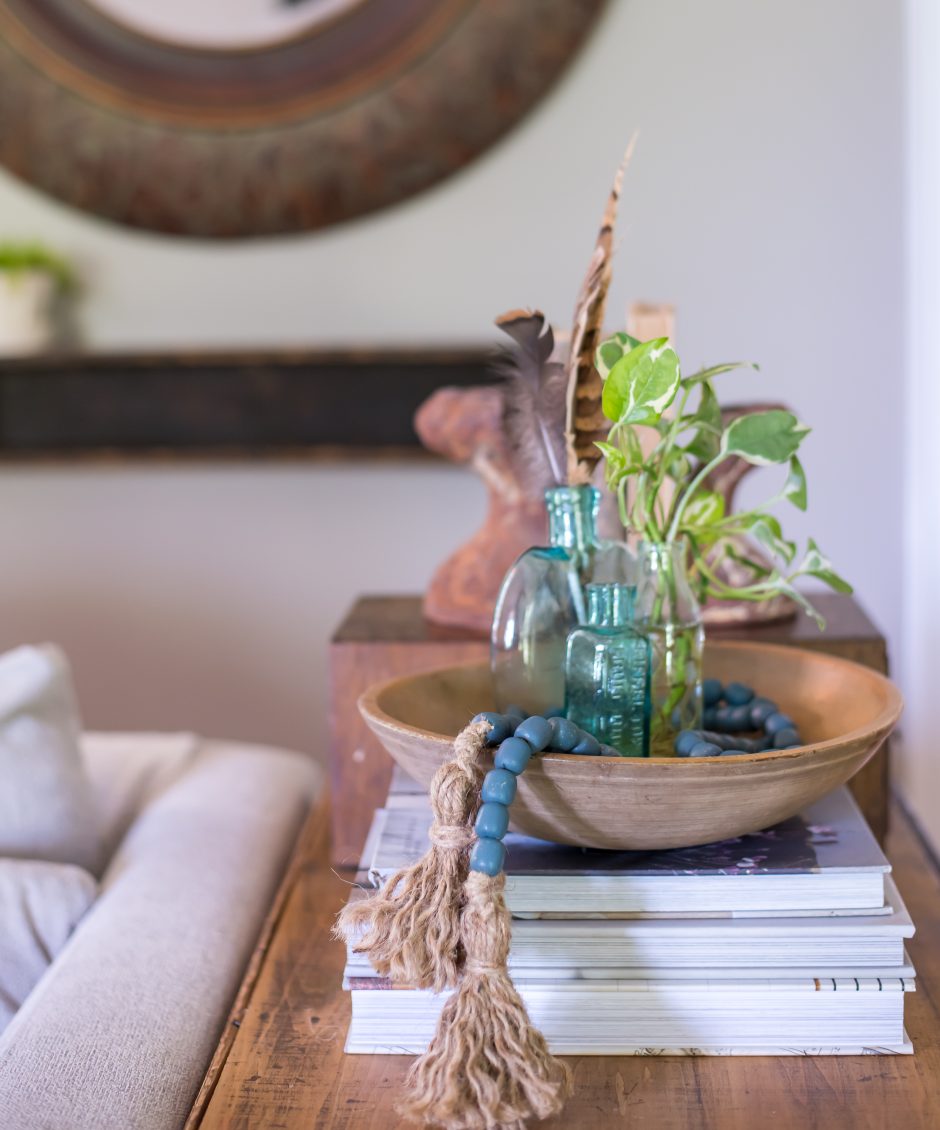
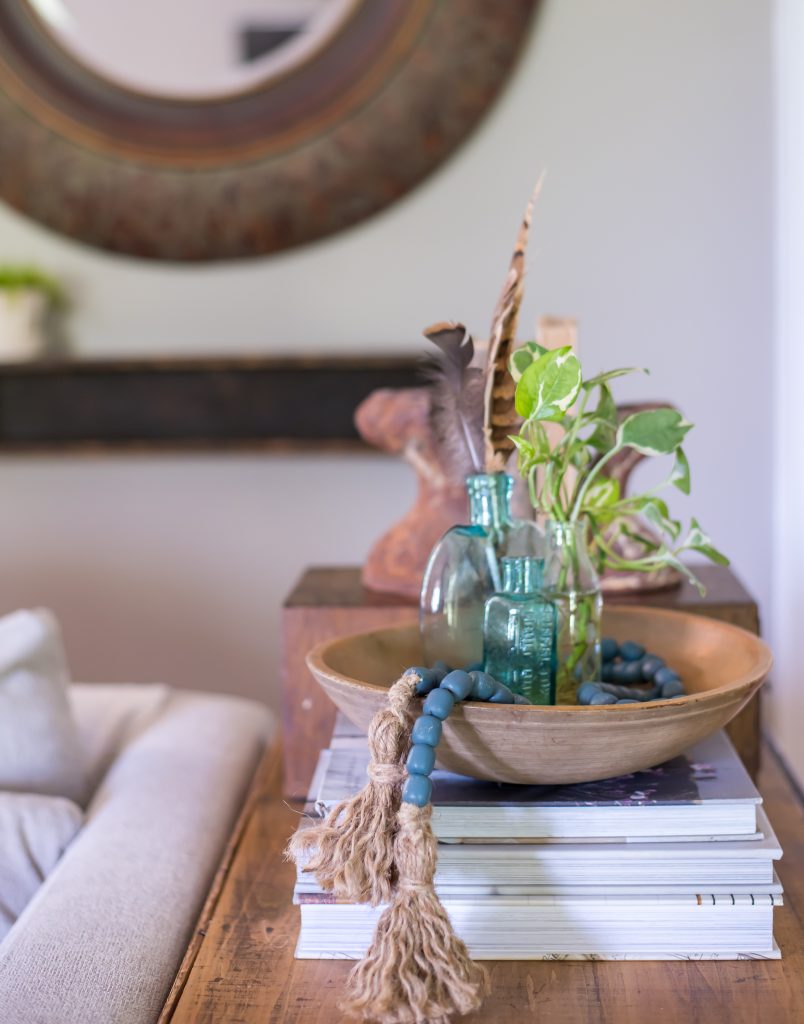
I quickly made some tassels for the blue beads. I’m really liking how the colour is more opaque than the black and white beads. There are some left over beads and think I’ll play with different colours, maybe seasonally and maybe some white jute? The possibilities are endless and this economic solution means you can totally experiment and play.
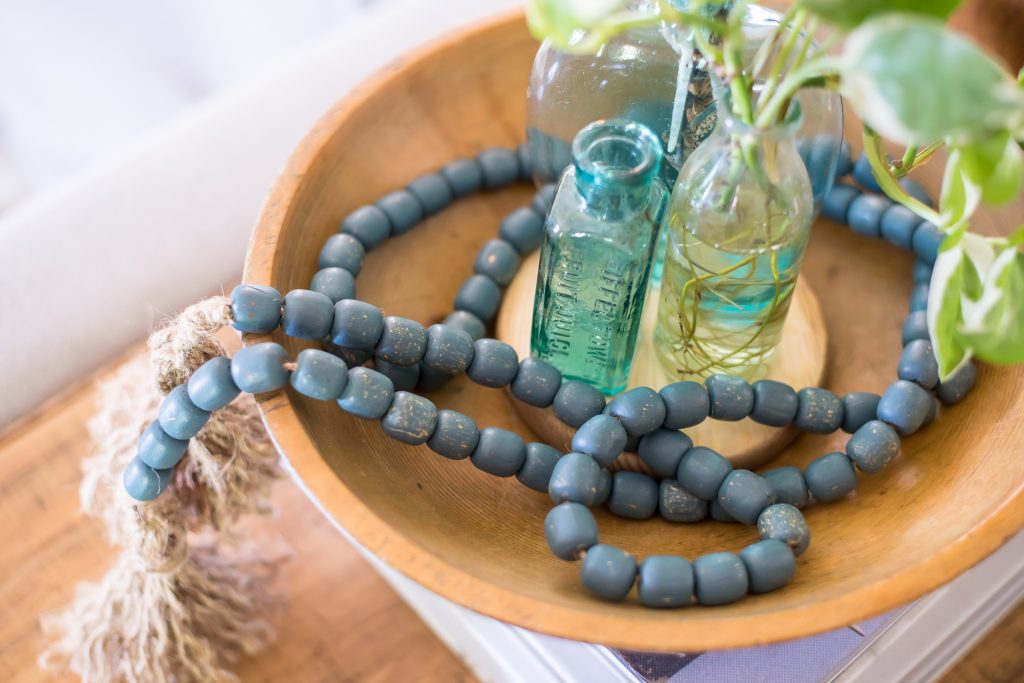
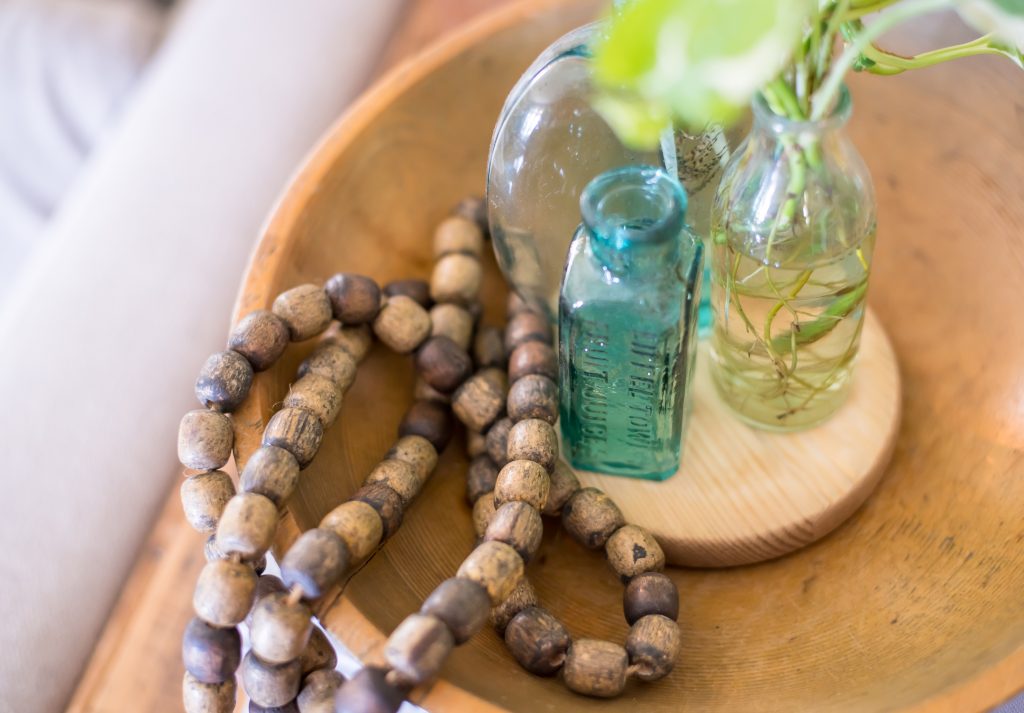
I love adding beads to little vignettes around our home, it’s a wonderful way to add in a pop of colour and a variety of textures.
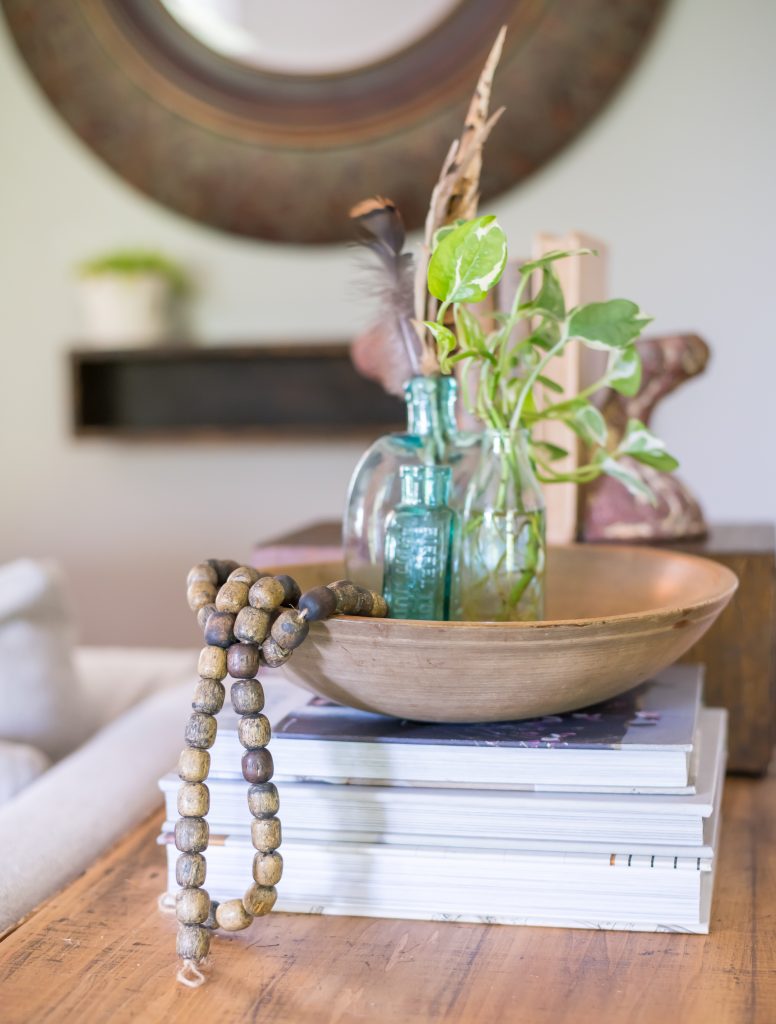
I am really loving the “white wash” effect with the spray paint method. These beads are perfectly neutral and will fit into any decor.
A lovely casual way to add decorative beads, just plop them into bowls. “plop is a real stying term” 😉
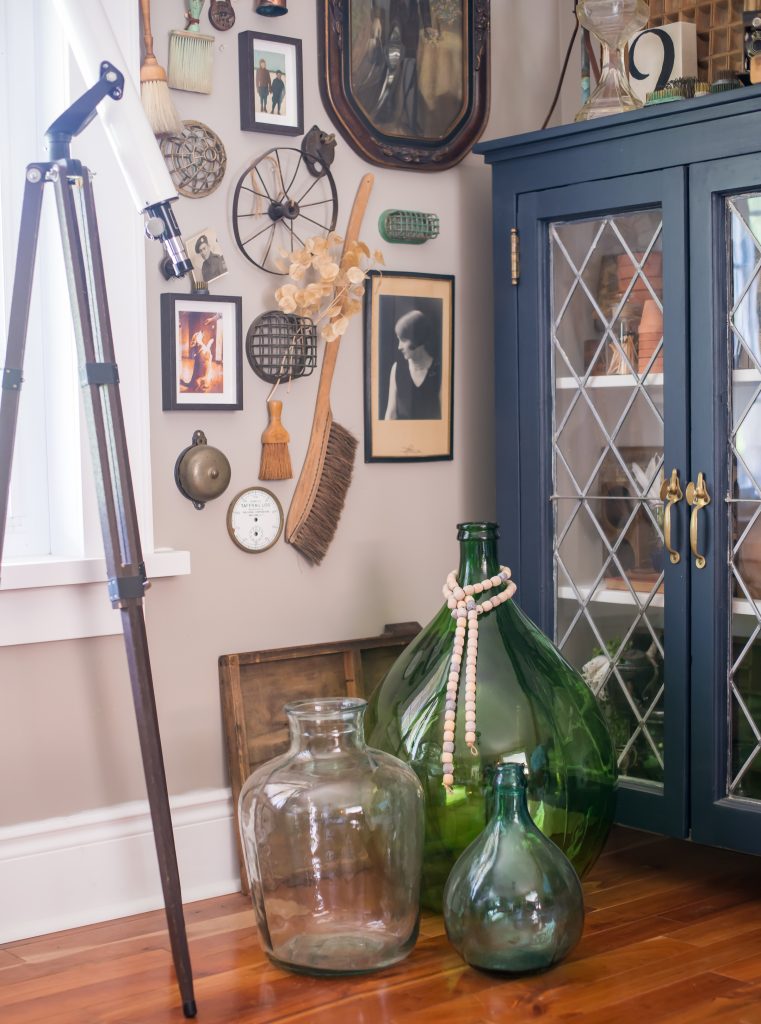
Draping the beads on a glass demijohn is another way to use your cute strand of beads, adorable right? Tell me would you ever thrift a beaded seat cover? I carried it around for a while as I thought about how I could use it… I’m very glad I decided to bring it home.
Thank you so much for stopping in today! Please won’t you join my creative friends and have a peek at what the thrifty gang is up to for August.
Redhead Can Decorate – Old Martini Glass Repurposed into Q-Tip Holder
Our Crafty Mom – Buffalo Check Bench Makeover
DIY Beautify – No Cost Decorating Tips
2 Bees In A Pod – 12 Fall Decor Items To Buy At The Thrift Store
The How To Home – Simple Seashell Centerpiece
Vinyet Etc. – DIY Decor Beads From a Thrifted Beaded Seat Cover
Sweet Pea – Easy Upcycled Twine and Lace Cans Craft
What Meegan Makes – Late Summer Tablescape In Pink
Cottage At The Crossroads – Thrifted Peat Pot Pumpkin Holder
Postcards From The Ridge – 29 Creative Ways to Repurpose and Upcycle Things for Your Home
Lora B. Create & Ponder – Fun Vintage School Decor Ideas
The Tattered Pew – 5 Simple Ways To Decorate With Flea Market Finds
I Should Be Mopping The Floor – Garden Gift Ideas and Tags
Chas’ Crazy Creations – Vintage Drawer Pulls Jewelry Hanger
Cottage On Bunker Hill – Anthropologie Dupe Moss Wreath




36 Comments
Laurie, I absolutely love how you repurposed that seat cover! Your painting tips are so helpful, and I love the mottled vintage look it gave to the beads! Gorgeous my friend!
Thank you SO much Cindy! I love how they look vintage too!
Thank you, thank you, thank you for the plastic bag painting idea! I have limited hand mobility, and I’ve been struggling with the idea of hand-painting each wooden bead for my garland project.
I’m so excited to try out shaking them in a plastic bag instead!
YOU are SO welcome! <3 Isn't that a great tip, I saw it on a video somewhere and thought that it was pretty brilliant too, I mean it also saves on the amount of paint you have to use too, most of the spray actually gets on to the beads instead of all around them. 😉 I can sometimes (always) be a messy painter.
I love this repurpose/upcycle, Laurie! Brilliant! Don’t think I would have seen the potential in that seat cover. Great idea to put the paint in a plastic bag; will have to remember that trick, indeed. Great mottled effect. Pinning, for sure!
Thanks so much Lora, that ziplock trick is life changing… A bit dramatic, but true! 😉
what a smart idea all the way around. From using the seat cover, to using a baggie to paint the beads and then using it as a home accessory! It certainly doesn’t get much better than that. Thanks for sharing, Laurie.
Thanks so much Meegan, love that baggie idea, it’s a game changer! xo
I love this repurpose idea! Your bead garland is going to be great to use for decor in any season.
Thanks Paula, I am thinking beautiful fall colours would be nice too!
Laurie, this project is absolutely brilliant! And I loved your tip about shooting the spray paint into a plastic baggie! You are so clever!
Thanks Jane! xo The baggy spray paint trick is a game changer for sure!
Laurie – this is the very best example of a great thrifted project. Your beads are a beautiful upcycle!
Thank you ladies, it was a fun project!
Oh the paint in the ziplock is genius!! I just used a cool technique for a project for beads that I’m definitely using again…Rit fabric dye!! You add a few tablespoons into a container of hot water and dump in the beads and in a couple of minutes they looked stained. I used dark brown but you can use any color Rit.
OHHHH, I like that idea too, much try that one too!
Very cool idea… and most economical..just think of the different decorating ideas from one seat cover. If I see one of those seat covers I’m snagging it.. lol!!!
You totally have to do it! So economical, I mean those decorative beads can be pricey!
How fun is that, and such a great idea! Thank you for sharing
Thank you! xo
This is one of the absolute best repurposes I have ever seen! So pretty and useful.
Awwwww, you are simply the sweetest person!!! thank you! xo
You are so clever! I wouldn’t have given that seat cover a second thought but you are so creative. I love how your bead garlands turned out. And that’s a great idea adding the paint to the bag. So smart. Thanks for the inspiration!
I almost didn’t take it! 😉 I’m thinking of a lovely vintage jar filled with some colourful beads would be another nice way to use these!
Ok so smart to miss that old seat! I also love the colors you chose for the beads. So pretty!
Thank you Kelly! xo
Omg! First, I was laughing so hard about how you were thinking about how many sat on it. I do the exact same thing lol. Lots of decisions are made in those stores, right!? Second… I have a big blue bottle like your green one… and guess where I got it!? Canada! Third… your beads look beautiful!
Yes, how many tushies were actually on this thing… I mostly see them in taxis and that was making me a little itchy… I had to push through that feeling! 😉 Oh, I have a blue one too, Canada kind of rocks eh? 😉
I was over here looking at this but didn’t comment at that time. Had to come back and look again! I never thought of painting beads like this.
Brenda
Painting beads in a ziplock was a game changer for me!
This is such a cute idea. xo Laura
Thanks Laura!
Your method for painting these beads was FANTASTIC…definitely pinning this one for later. And what a wonderful creation you made with them…so much cuter than the old “sat on” seat cover…lol! xoxo, Kristi
That painting method was a game changer for sure! Can’t think about how many tushies were actually on the seat! lol
What a creative idea this was. I love how you were able to upcycle the seat cover. Your wood beads turned out great.
Thanks Michelle!