Welcome to July’s 12 months of DIY challenge! In case this is your very first visit here I’ll fill you in on what 12 months of DIY is. Each month I join in with 11 awesome Canadian blogging friends, we DIY something spectacular using one material.
Here is what we’ve done so far.
January – Mason Jars – Farmhouse light
February – Fabric – Blanket with pom poms
March – Wood – wood sliced art
April – Thrift Store – roll n’ go travel bag
May – Mod Podge – beginners art
June – Spray Paint – secret garden gate from an antique crib
And for July we are using felt!
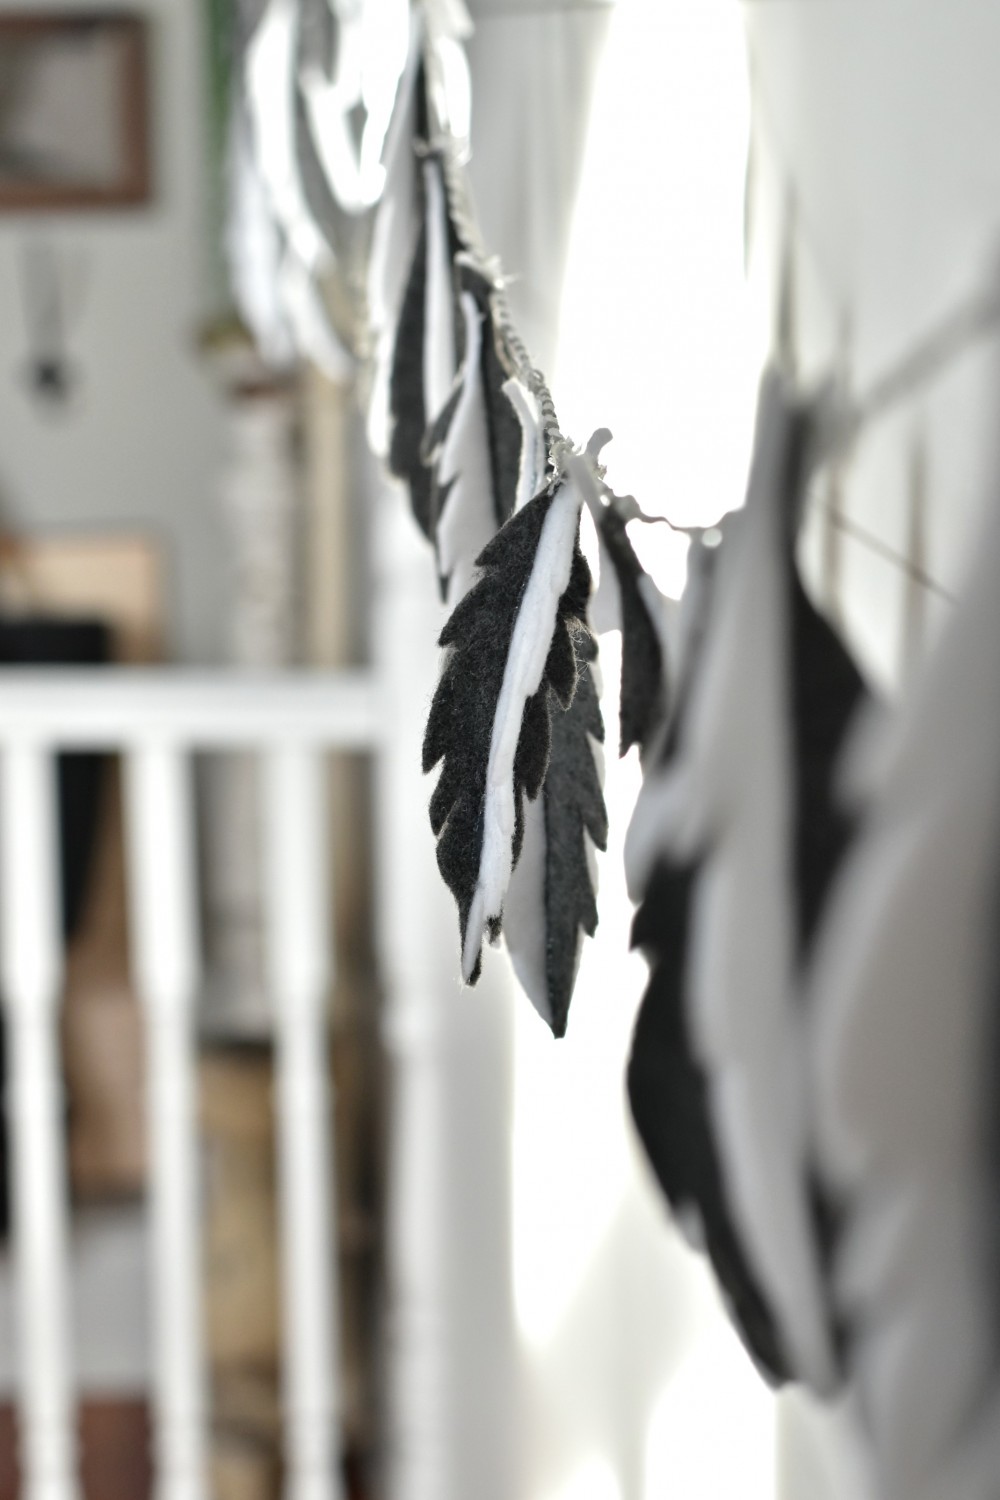
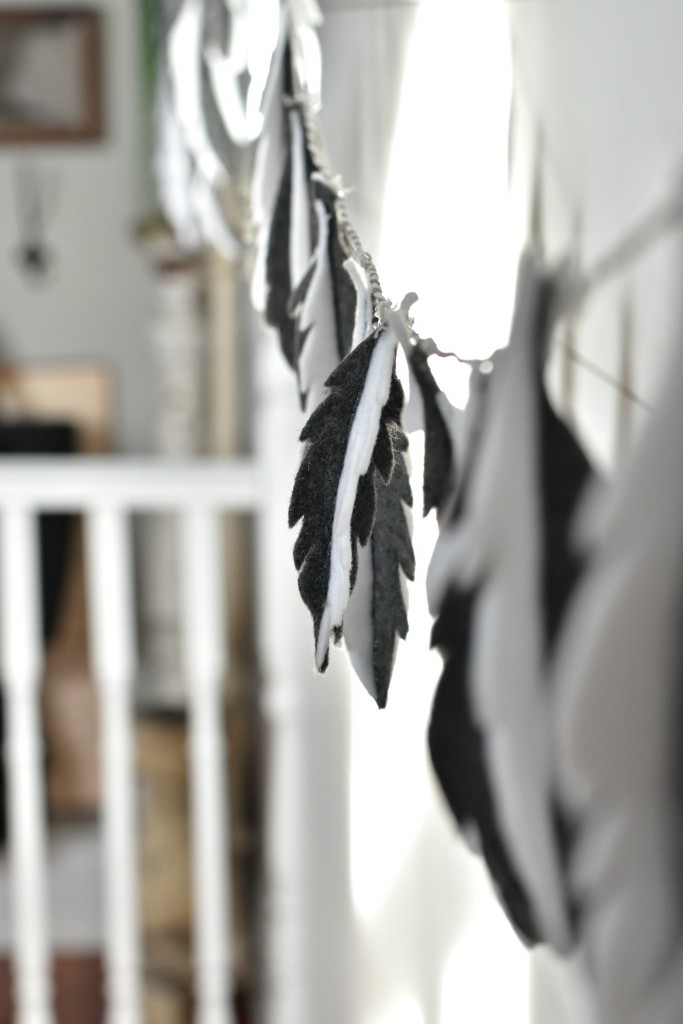
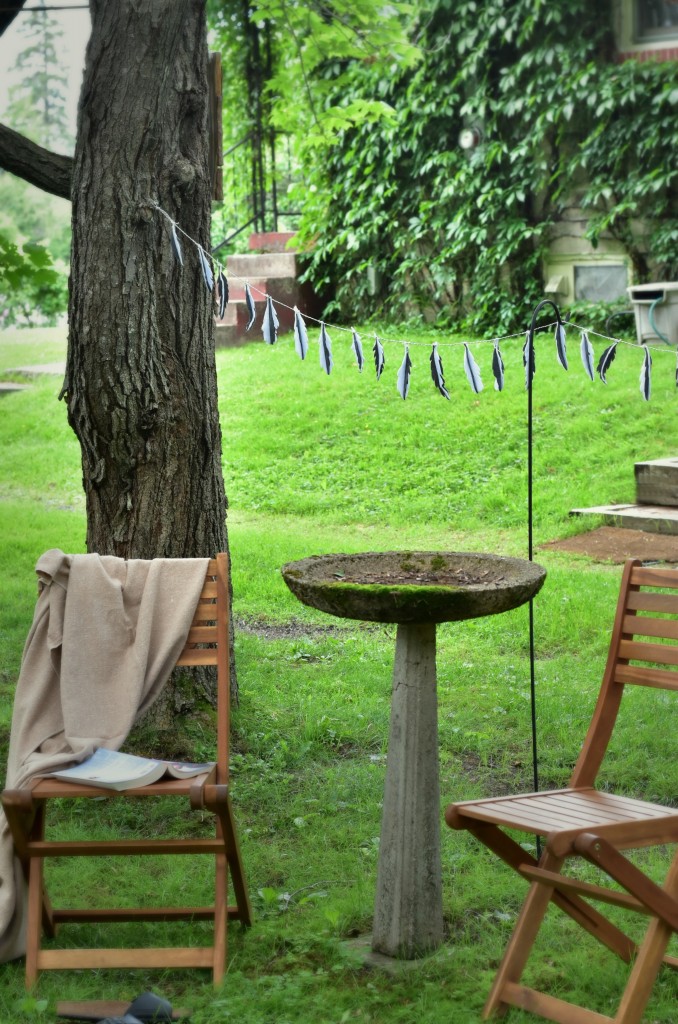
I wanted to get my craft on for this month’s project, a little bit different than my usual DIY. I’m pretty much obsessed with both feathers and garland… so this project seemed like a great idea and I’m so happy with how this adorable felt feather garland has turned out!
Our sponsor this month, The Kunin Group Eco-fiPlus™ Premiumfelt has very generously donated the felt you will be seeing in all of our DIY projects! This thick high quality 8 oz felt is made from recycled plastic bottles… that is just awesome! You can see what my very creative friends have made at this end of this feather garland DIY tutorial, now on to how I made this feather garland… using felt.
Materials you will need
Two different coloured felt sheets – (I used 2 – 12″ x 17″ white and 2 – 12″ x 17″grey felt sheets to make all of the feathers)
Sharp (comfortable) scissors
Glue gun and glue sticks
Twine or string of your choice (I used bakers twine from ikea) and embroidery thread
Hand drawn feather template(s) – (I used 4 different shaped feathers)
DIY Steps
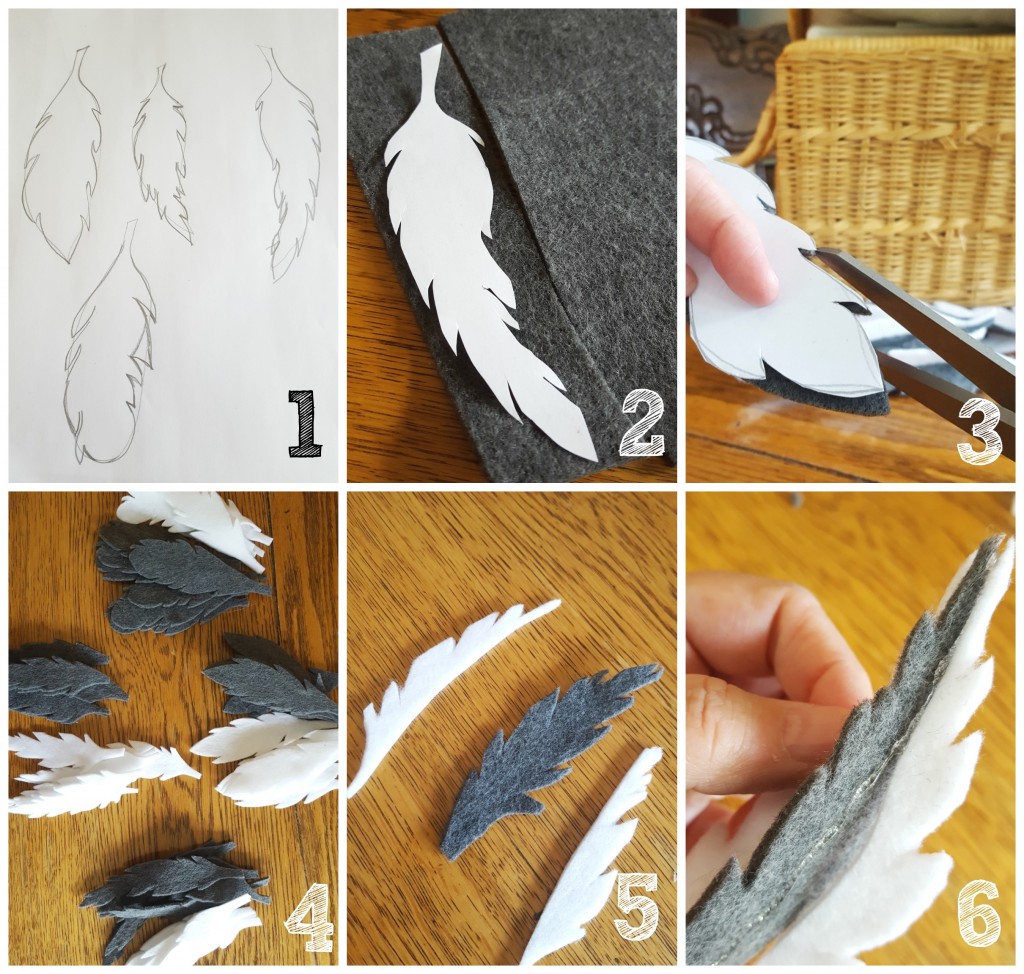
1 Draw an outline/template of any feather shape(s) that you may like on to white paper, I used some shapes that I saw on line as a guide. (In total I used 4 different shapes)
2 Cut the template feathers out of the paper, use that as a guide to cut your felt into rectangular pieces.
3 Lay your template onto the felt rectangles and cut the feather shapes out of the felt. I alternated the 4 shapes for a total of 32 grey feathers and repeated that for a total of 32 white feathers. It’s a lot of cutting, make sure to use comfy scissors.
4 Group all of your like feathers together, keeping the grey and the white in separate piles, but group same shapes together.
5 Take one group at a time, leave the grey feathers whole and cut the white feathers down the center.
6 Run a thin line of hot glue down each side of the grey feather and stick one half of the white on either side. Repeat until all of your grey feathers have white halves glued on.
**Attach the individual feathers on to your selected twine… I used embroidery thread attached to each feather and wrapped that around the bakers twine and secured that with a dot of hot glue. I wanted the feathers to move in the wind.**
There you have it, so easy…
I love that it can hang anywhere… in my studio.
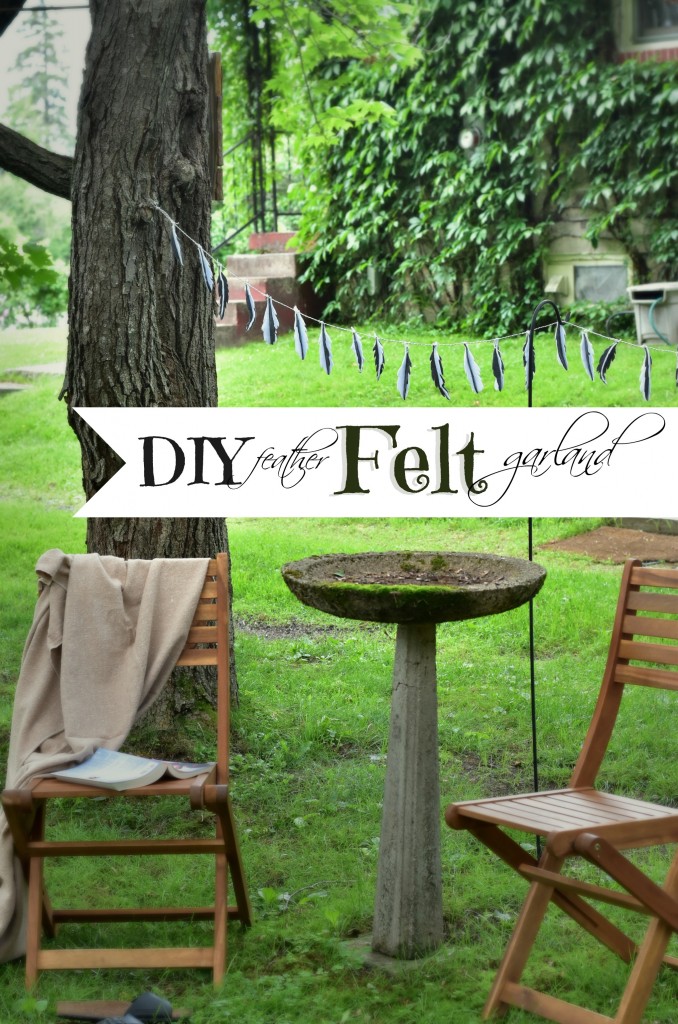
Or in a gorgeous back yard…
So much fun!
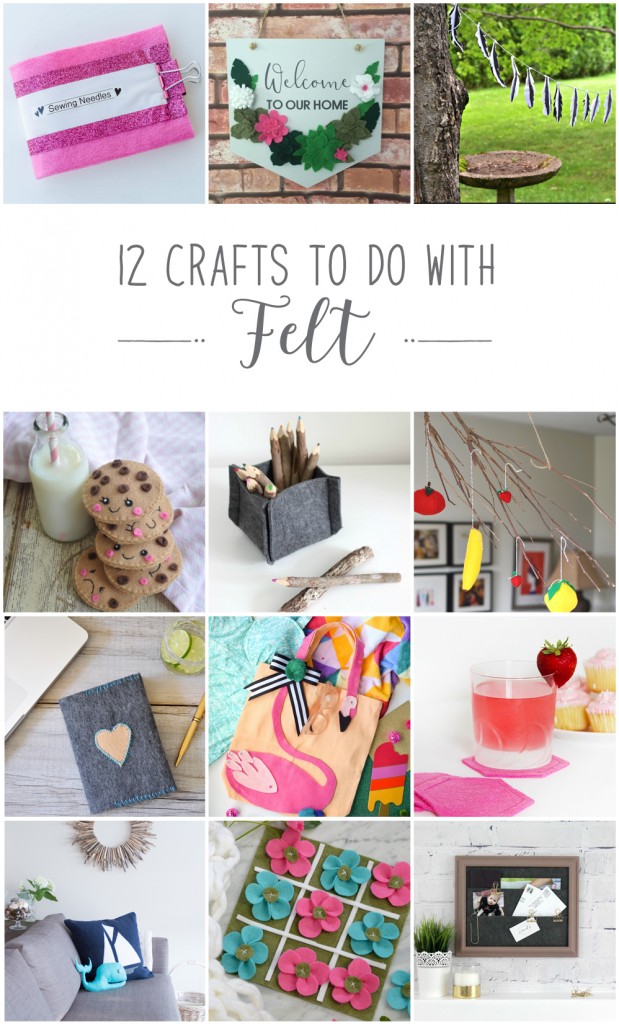
Now it’s time to see the rest of the DIY felt project ideas from my Canadian blogging friends!
From the top left, they are:
No Sew Felt Sewing Needle Storage Case from Time With Thea
DIY Felt Succulents from Brooklyn Berry Designs
DIY Felt Feather Garland from Vin’yet Etc.
Felt Chocolate Chip Cookies from Life is a Party
DIY Felt Basket from Love Create Celebrate
DIY Felt Fruit Mobile from Woman in Real Life
DIY Felt Notebook Covers from Lifeovereasy
Felt Flamingo Bag from PMQ for Two
DIY Felt Coasters from Fresh Crush
DIY Nautical Throw Pillows with Felt Fabric from Sustain My Craft Habit
Floral Felt Tic-Tac-Toe Game from The DIY Mommy
Felt Wall Organizer from Love Create Celebrate
I sure hope you’ve gathered some inspiration from all of these awesome projects made with felt!? I most definitely will use this material again, thanks once again, The Kunin Group Eco-fiPlus™ Premiumfelt I really enjoyed using your quality felt product!
Peace and blue skies,
Disclaimer: This post is sponsored by, The Kunin Group Eco-fiPlus™ Premiumfelt. As always, all of the opinions here are my very own and I only recommend companies that I love and use myself.



18 Comments
Very pretty! Perfect for your beautiful gazebo too!
Thanks Ariel, it’s so portable and will pretty much go anywhere! I’m happy with how it turned out.
So Pretty! As you know I share your love of feathers. I’m honored that you used the images from our yard for your site. Wish you could be here more often taking your amazing photos. Miss you guys! XO
Thanks Barb, I didn’t much like leaving… your property is so charming, I just wish I had more time to do a whole feature! Maybe one of these days I’ play and take tons of pictures! Miss you too, big time! xoxo
I love this so much Laurie! I feel like I need to get going on another garland now…. 😉
I hear you, I love all of the garlands too! Thanks for the sweet words! 🙂
I absolutely LOVE this Laurie! just so pretty!
Thanks Heather!
Love your feathers Laurie, so cute. And I love the way you made them two colours, great little project!
These feathers are pretty adorable aren’t they? I wanted a little bit of a 3D effect, I’m pretty happy with how they turned out. 🙂
It is amazing how the feathers look great made from felt! They really turned out and i love how you can decorate both indoor and outdoor spaces with this garland! Very creative!
Thank you Thea, you for sure can use these indoors and outdoors, any time of year too, they are quite versatile.
This is such a pretty project! LOVE the idea of feathers for fall too!
This is so pretty. I love feathers, and also that you can use it in so many places. I like it both indoors and out!
Sooo pretty! I love the 3D effect. This looks like one of those projects that you could use in so many places!
I would be so happy to keep this garland up all year round – it’s so lovely and unique! And I really like the shape you used for the feather. Normally I would think it would hard to cut out all that detail but the felt was amazingly easy to work with. Great job, Laurie!
This is so pretty, Laurie. What a great idea! I could picture this garland on a fireplace mantel at Fall too. 🙂
I love garland and yours is so pretty! What a great idea to make feathers!