Hey guys, welcome to June’s cozy living post!!! Goodness gracious, things have been so busy around here, I can’t believe it’s been 2 months since I last posted! It’s kind of crazy how time seems to whiz on by, especially with the weather being so nice lately. Things are blooming in our garden and I for one am thrilled with that – you can expect lots of flower photos coming, just can’t help myself! This cozy living series is hosted by the very talented, Jennifer from Town & Country Living, we are simply a cozy loving bunch of friends and we love to share how we do cozy! There are SO many inspiring and creative ways to be and live a cozy life, this is an endless topic really. Please stick around because, at the end of this post the Cozy team is sharing more cozy ways with you!
If you’d like to see more of what we do you can also follow our, Cozy Living pin board here –> Cozy Living – Hygge
DIY Jadeite Cake Stand
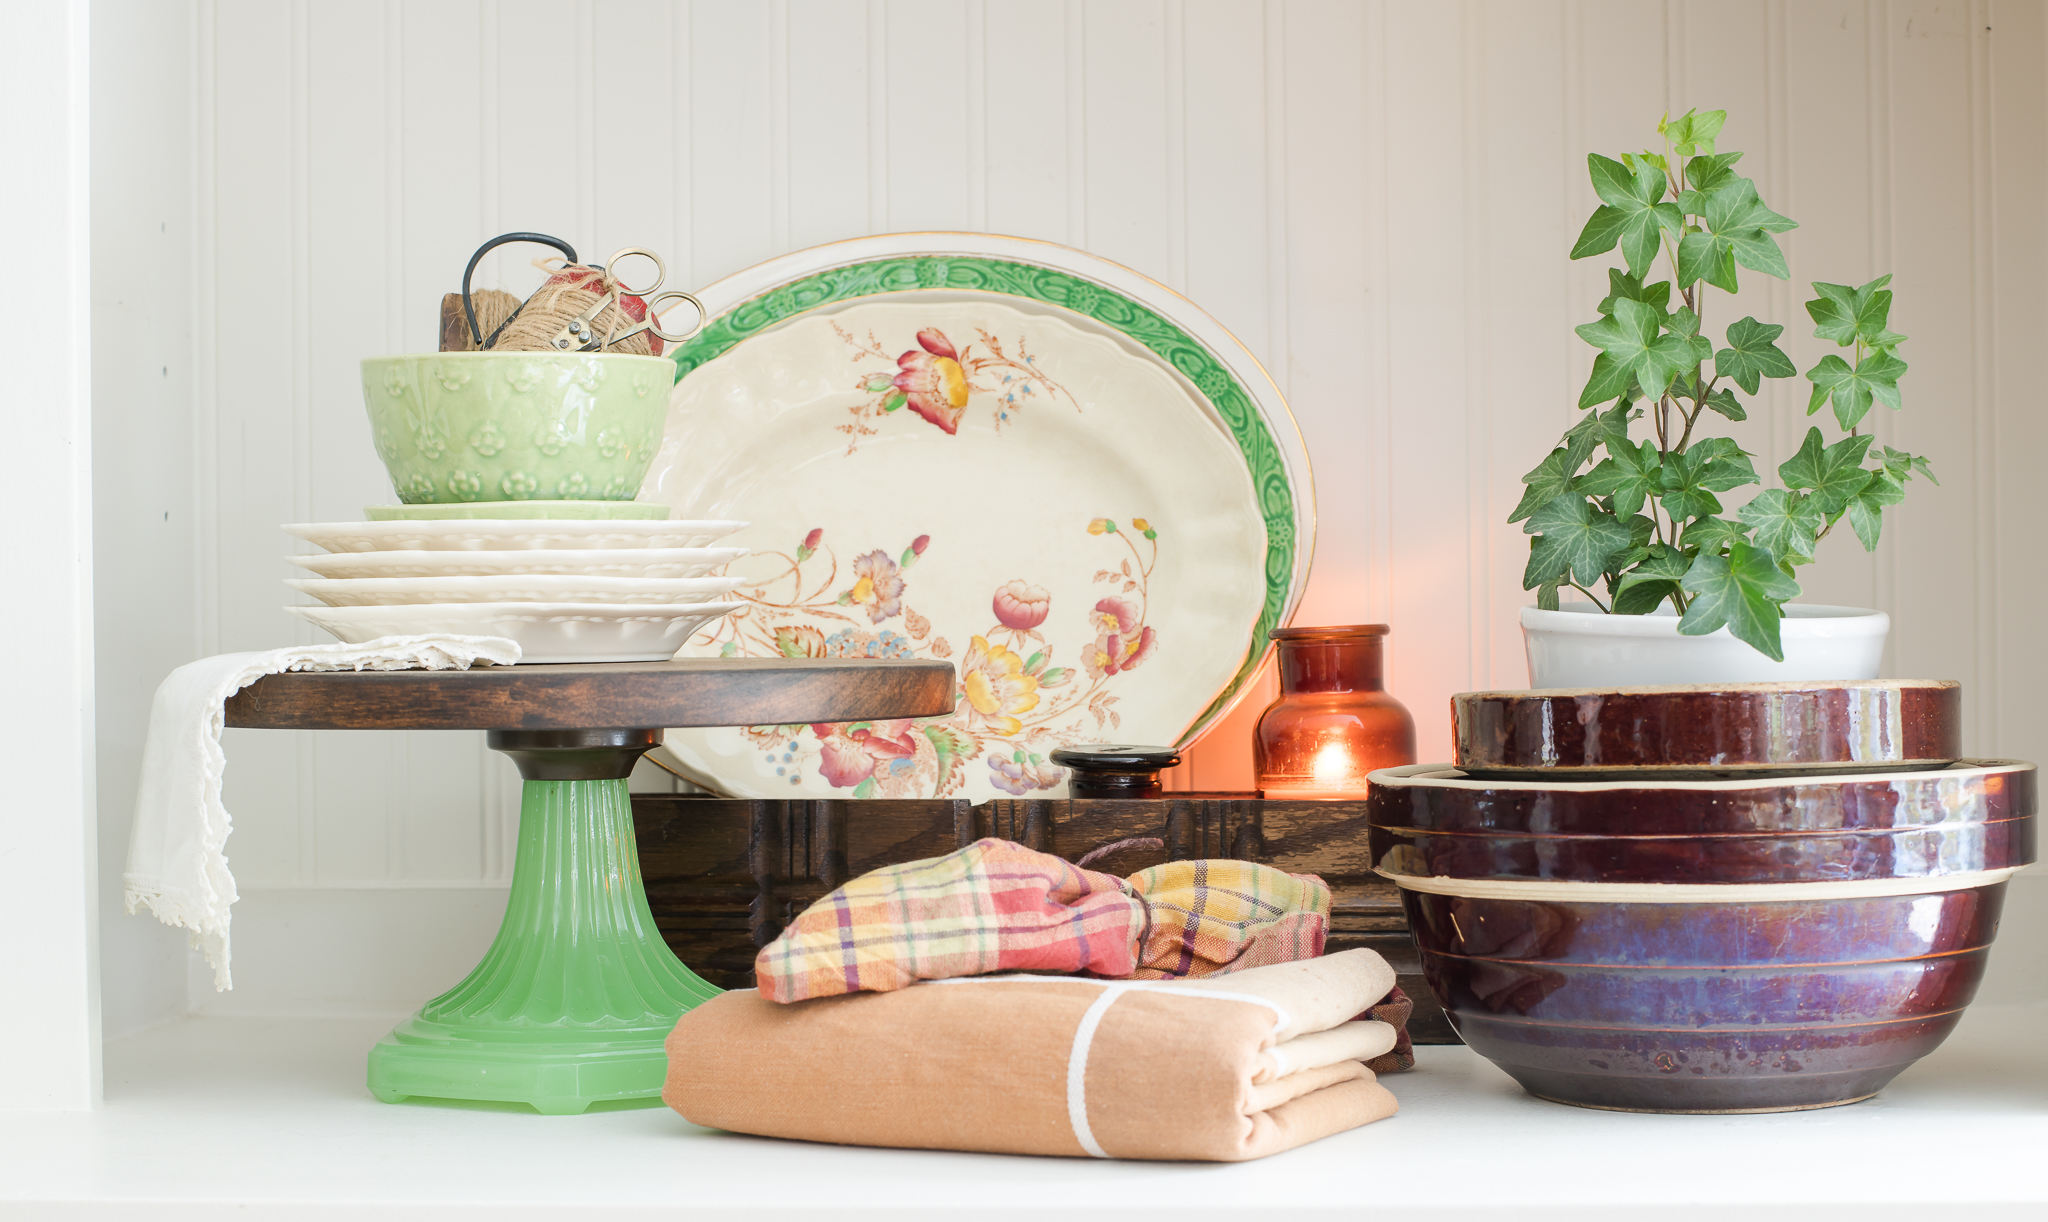
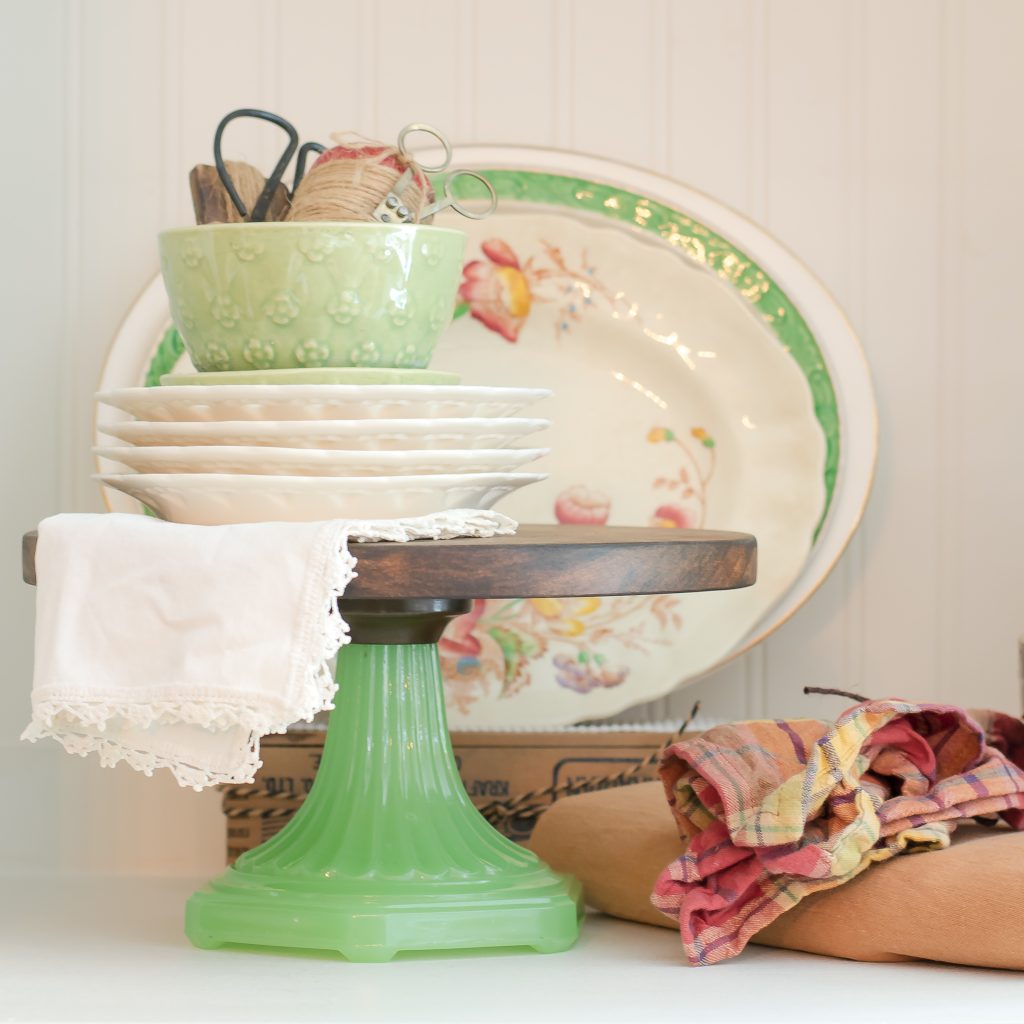
For this cozy post I am FINALLY sharing how I made this jadeite cake stand… but first, I’d like to say a great big thank you to everyone that messaged me and loved on this little jadeite cake stand, cake-stand lovers, unite!!! And, hello!!!! Isn’t it about time I actually wrote this tutorial??? What can I say, it’s been busy since I’ve started working outside of the home. It’s all about trying to find balance for all the things and sometimes tutorials get put on the back burner.
I first shared this jadeite cake stand over on Instagram, she was a popular post – who knew the jadeite and cake stand combo would be so loved!
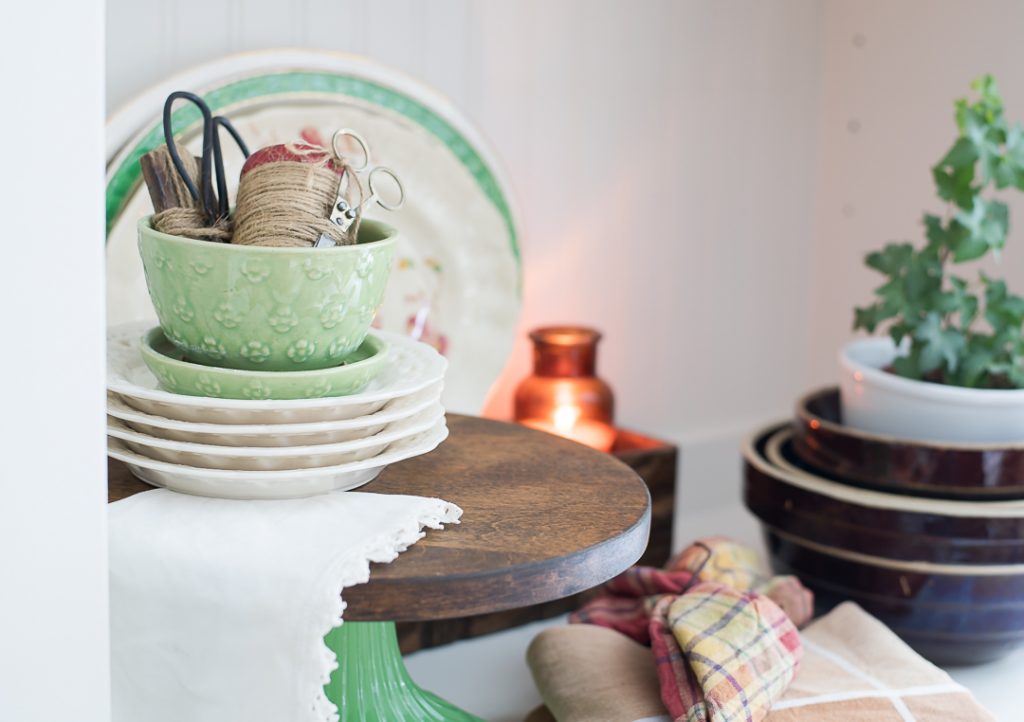
I also talked about creating cozy vignettes using cake stands, featuring our new jadeite cake stand here —> Creating Cozy Vignettes with Cake Stands and you guys, were all so sweet! xo I wasn’t sure if I should even bother doing a tutorial at all as it was really a very simple project, you know how the saying goes, sometimes the simplest things are the best things. I hope this project in the very least inspires you to look at old oil lamp parts a little differently. 😉
Flea Market Find
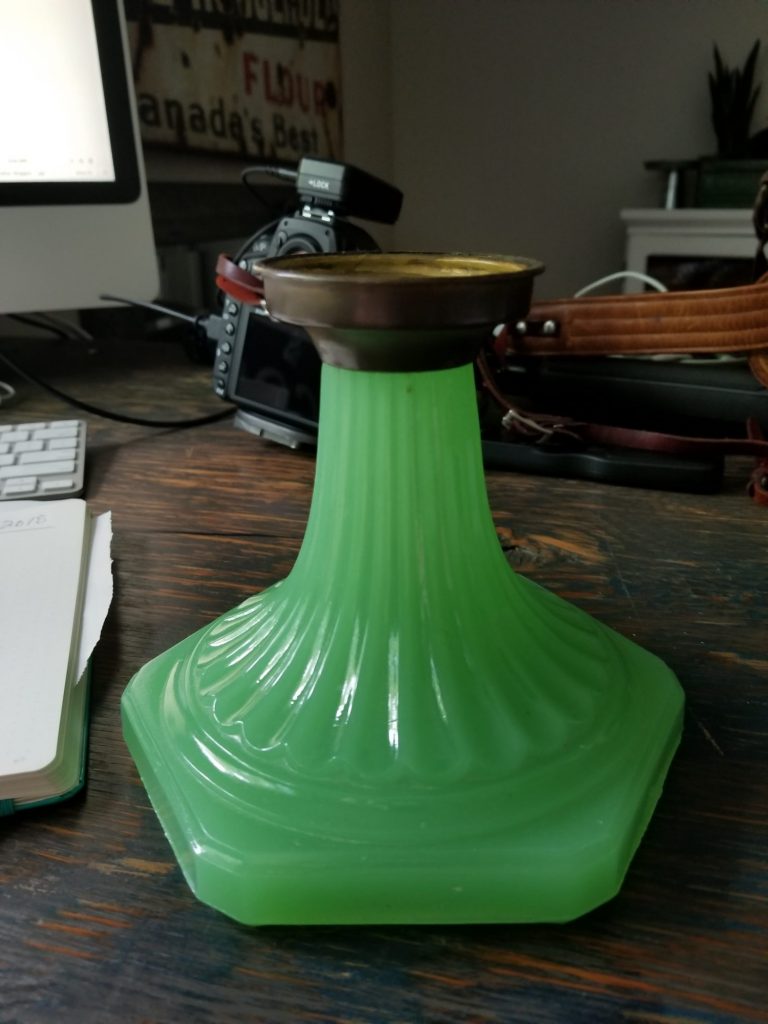
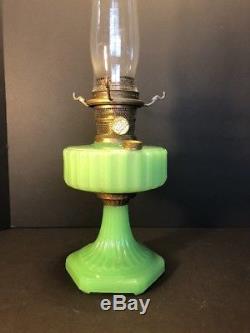
One weekend I was at my favourite flea market and I spied a bit of jadeite off in the distance. I made a beeline for it… ignoring a lot of tables full of treasures. When I picked it up (holy heavy) the vender asked me, “do you know what that is?” I knew it was jadeite and said as much, he then told me that “it was a base to an oil lantern”. Ohhhhh, how cool is that? So I bought it… thinking that I’d just look for the missing pieces of that lantern. This image is what it would have originally looked like.
Pretty, right? Once I got my base home, I very quickly realized that it was probably going to take forever to find all of the parts and pieces to this lovely lamp. So, I left the beautiful base on my desk until I could figure out how I wanted to reinvent the use of my jadeite base. One day it hit me – cake stand! This is how I did it.
How To
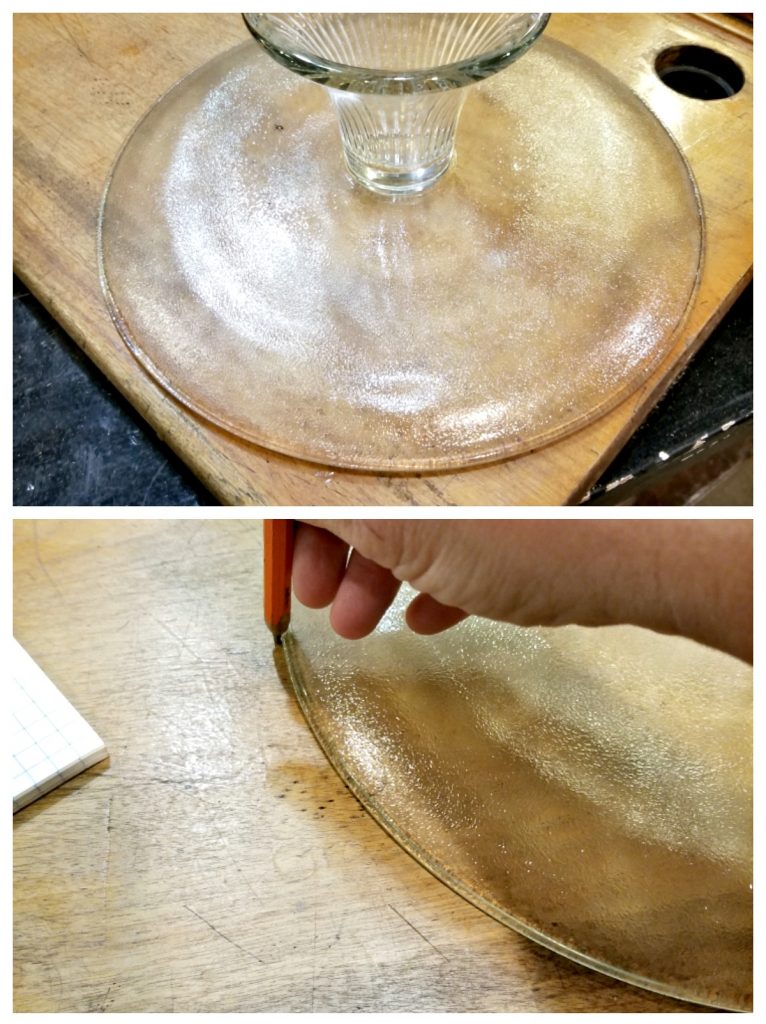
- I used an existing cake stand as a size template (one with a cover so I can use the cover on this stand too).
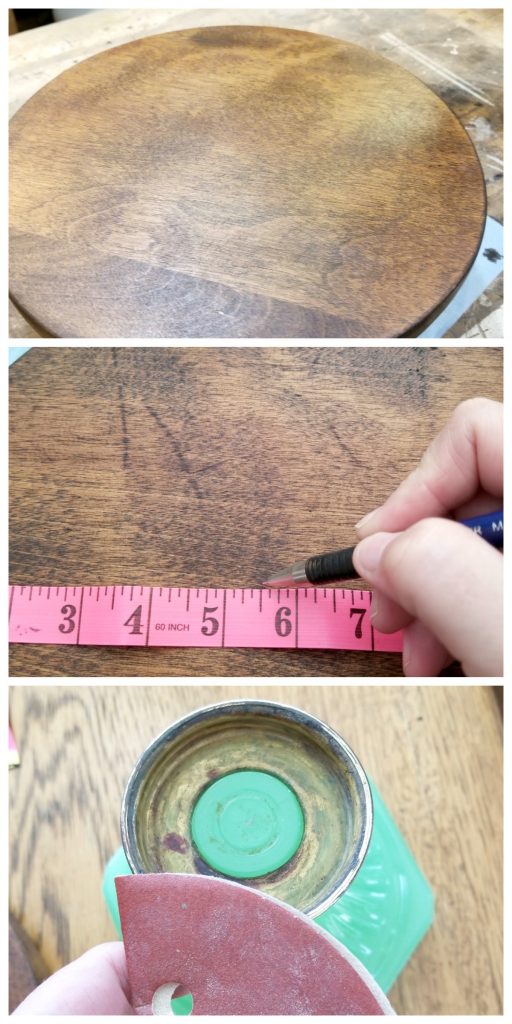
- I decided to use a vintage wooden school desk-top as the round top of the jadeite cake stand – I was very fortunate to be gifted some of these desk-top cast offs from family (I LOVE having my own picking network).
- I very simply traced around the glass template with a pencil and marked the wood for cutting with a scroll saw.
- Once your new top is cut out – sand it as needed, I slightly rounded the edges too for smoothness. Once it’s sanded, stain with your favourite stain. I used Early American by Minwax.
- Once your stain is dry, flip your top over and mark your center on the bottom with a large X mark.
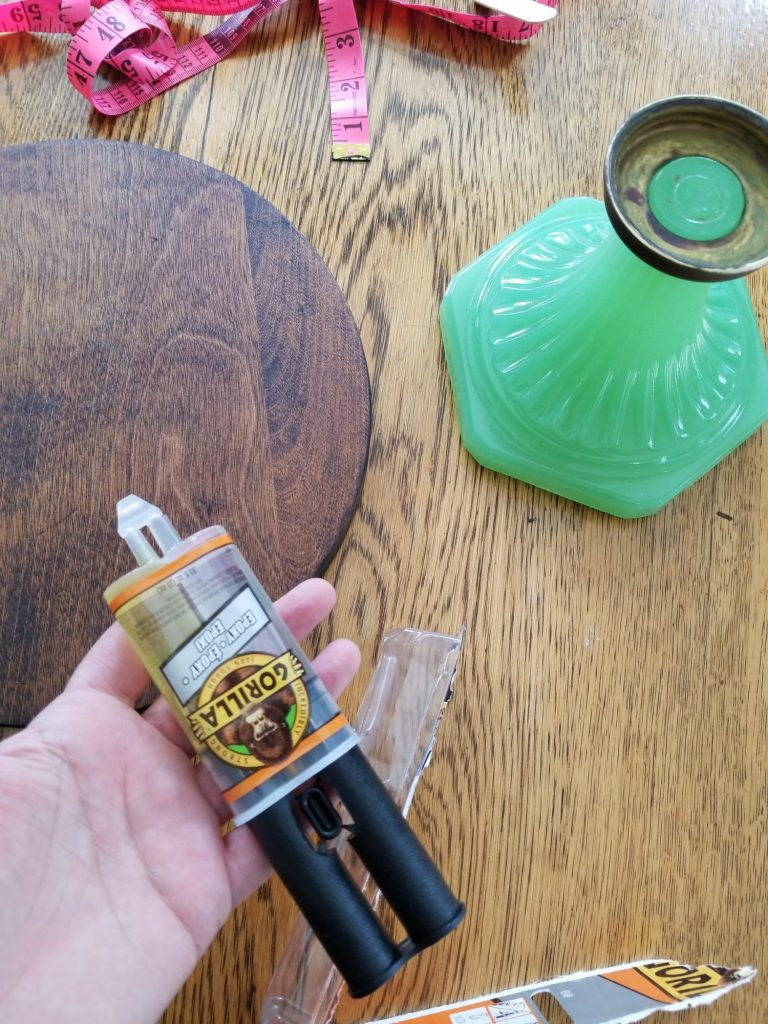
- The jadeite base I bought had an existing metal ring still attached to the base, I simply sanded the metal part clean, this is so that the epoxy would have a clean surface to adhere to.
- Once your center is determined epoxy your pieces as directions indicate. (this is the epoxy I used)
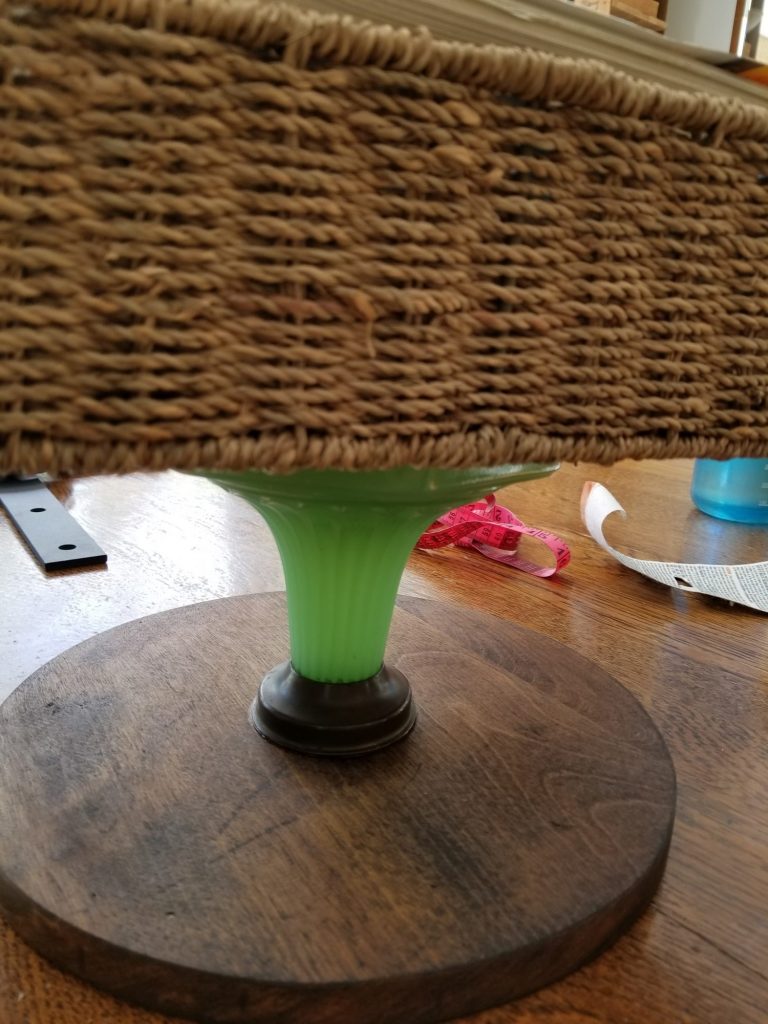
- Place something heavy on your cake stand while it cures – my VERY technical, something heavy. 😉
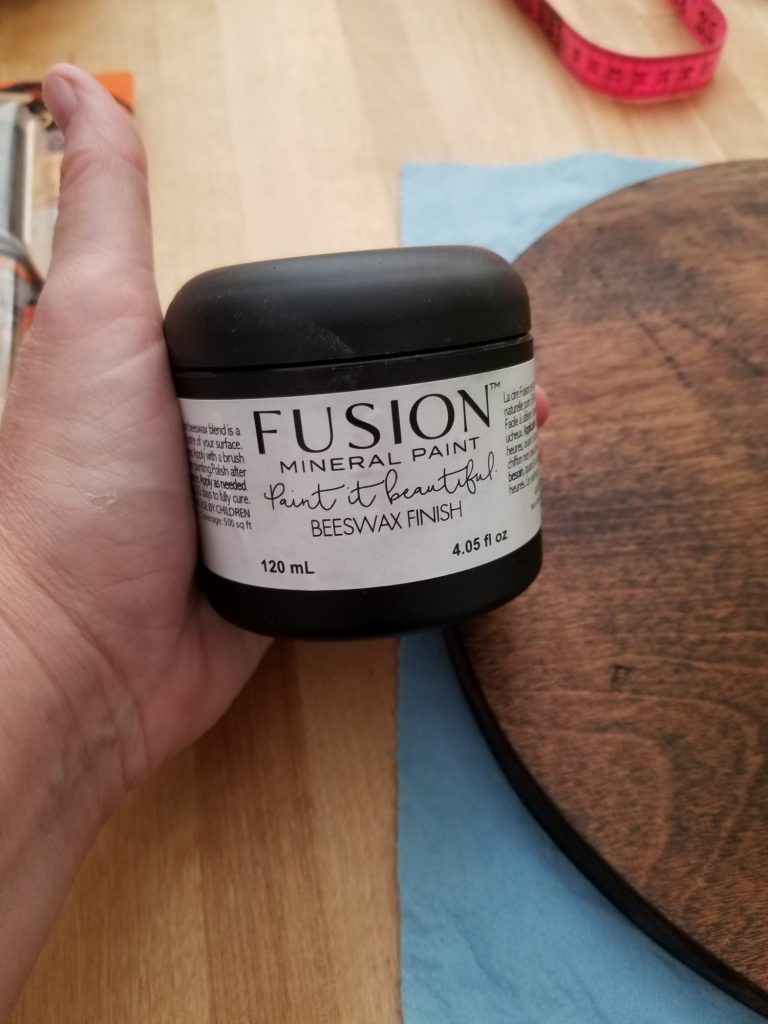
- When the epoxy is cured and your ready to use your cake stand seal it with a food safe sealant, I used (and always use – because I LOVE this product) Fusion Mineral Paint beeswax finish.
Cake Stands… Not just for cakes
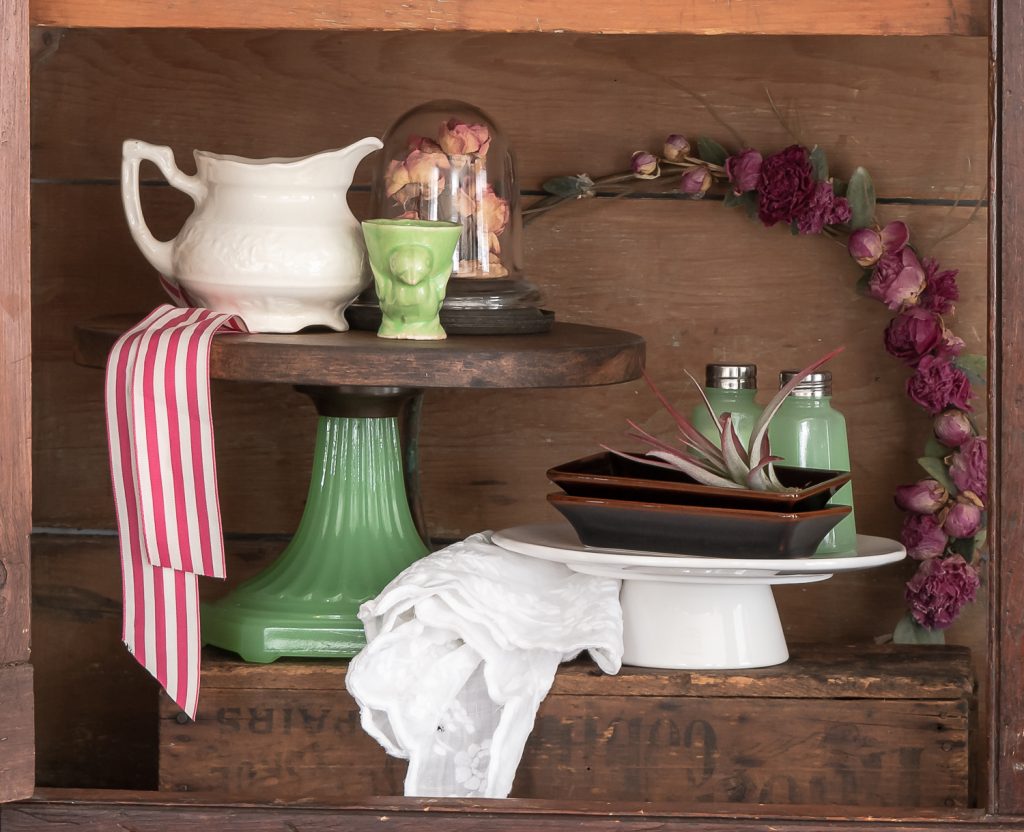
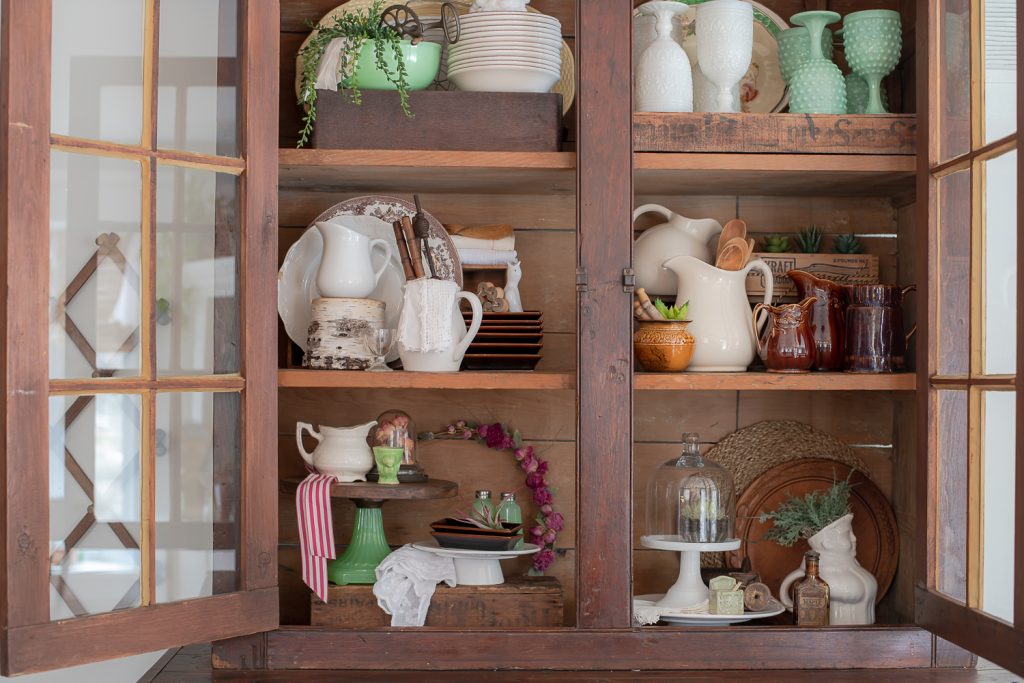
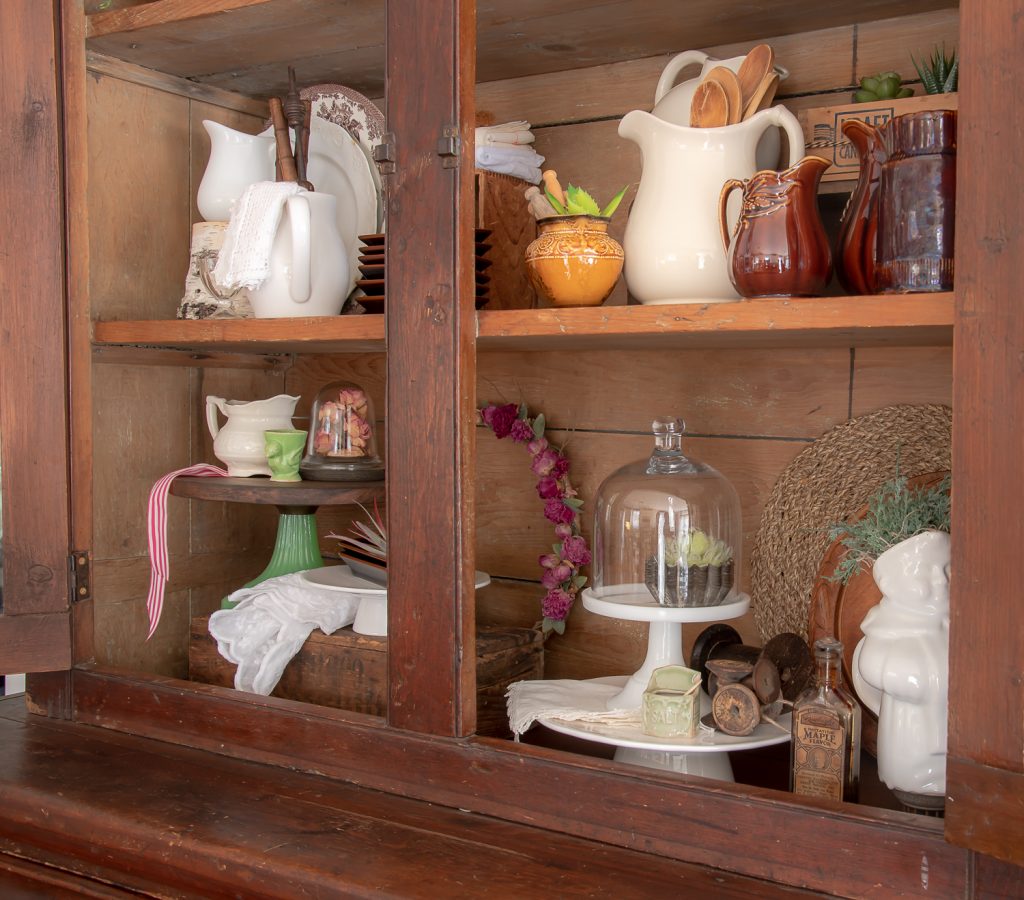
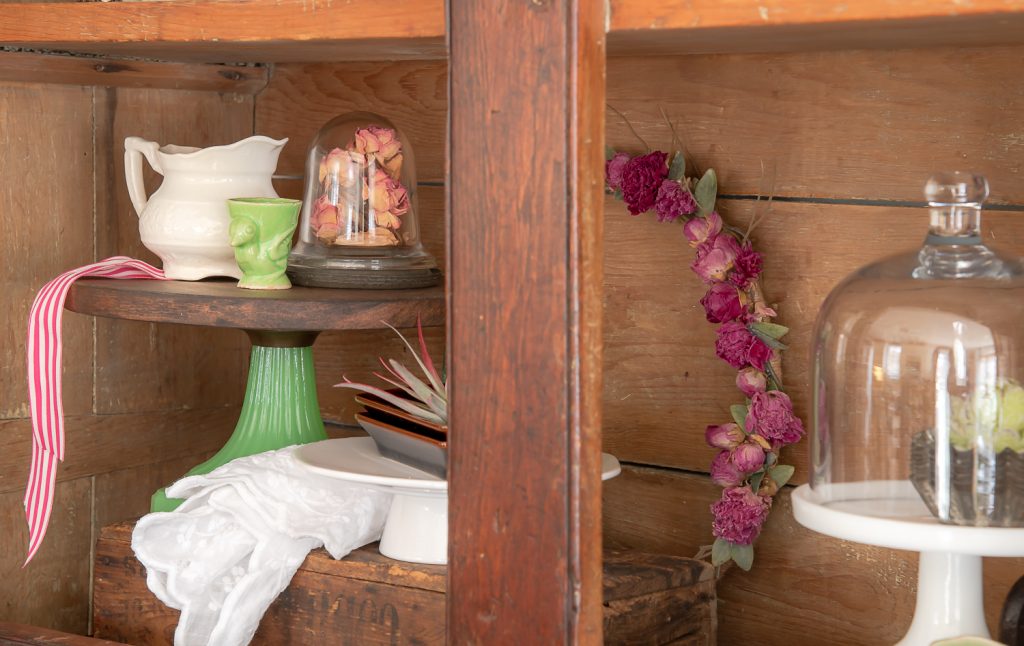
I mean, so simple, right? And now, on to the fun stuff… styling a cake stand, that’s completely normal behaviour, right? 😉 I shared how the jadeite cake stand looks in my Spring cabinet in my last post, you can see that here… I still absolutely LOVE how it turned out.
Now on to my talented and cozy loving friends, it looks like they have been up to some awesome creativity once again, can’t wait to see all the details!!! x0
Cozy Living Team
Finding Silver Pennies | Vinyet Etc. | Creative Cain Cabin

Hymns & Verses | Sincerely Marie Designs | Town & Country Living


11 Comments
Laurie, what a gorgeous cake stand! I love it more every time I see it. Thanks for sharing the tutorial. You were really lucky to find that lantern base. So pretty!
Thank you Jennifer! This is one of my favourite projects this year, for sure. 🙂
I love what you did, you added to a lovely piece and now it’s on of a kind.
Thank you Marlene, I love how this is now a unique piece in my decor! 🙂
laurie, i love the mix of the glass and wood. such pretty color combo. have a great weekend!
Thank you Laura, I love the mix of wood and glass too!
Your vignettes are always so beautiful, friend! I just love the cake stand, such a brilliant idea. Happy summer!
Awww, thank you so much Amanda! <3 Happy Summer to you!
Girl how creative are you? Brilliant idea! and I love anything green so I’m drooling over your vignettes.
I love Jadeite and LOVE this sweet cake stand. What a brilliant idea. I love the mix of warm wood and the cool green. Thank you for sharing it with us and I, of course, love all your styling. xx
Love, love, love this project, Laurie! How wonderful!